I was in the middle of a frantic midnight snack raid when I realized my pantry was screaming for something sweet, but my conscience was shouting “no sugar overload!” I grabbed a half‑empty bag of rolled oats, a jar of coconut milk that was about to expire, and a sad handful of walnuts. The kitchen was a symphony of clanks and the faint hum of the fridge, but the real music started when I opened the pantry door – the scent of toasted oats and the buttery whisper of coconut wafted up like an invitation from a secret garden. I tried a quick microwave oat‑cake, but it turned out as soggy as a wet sponge, and I swore I’d never trust “quick fixes” again. That night, I made a pact with myself: I would create a bar that satisfies the deepest sweet cravings without any guilt, and I would make it so good that even my most skeptical friends would beg for the recipe.
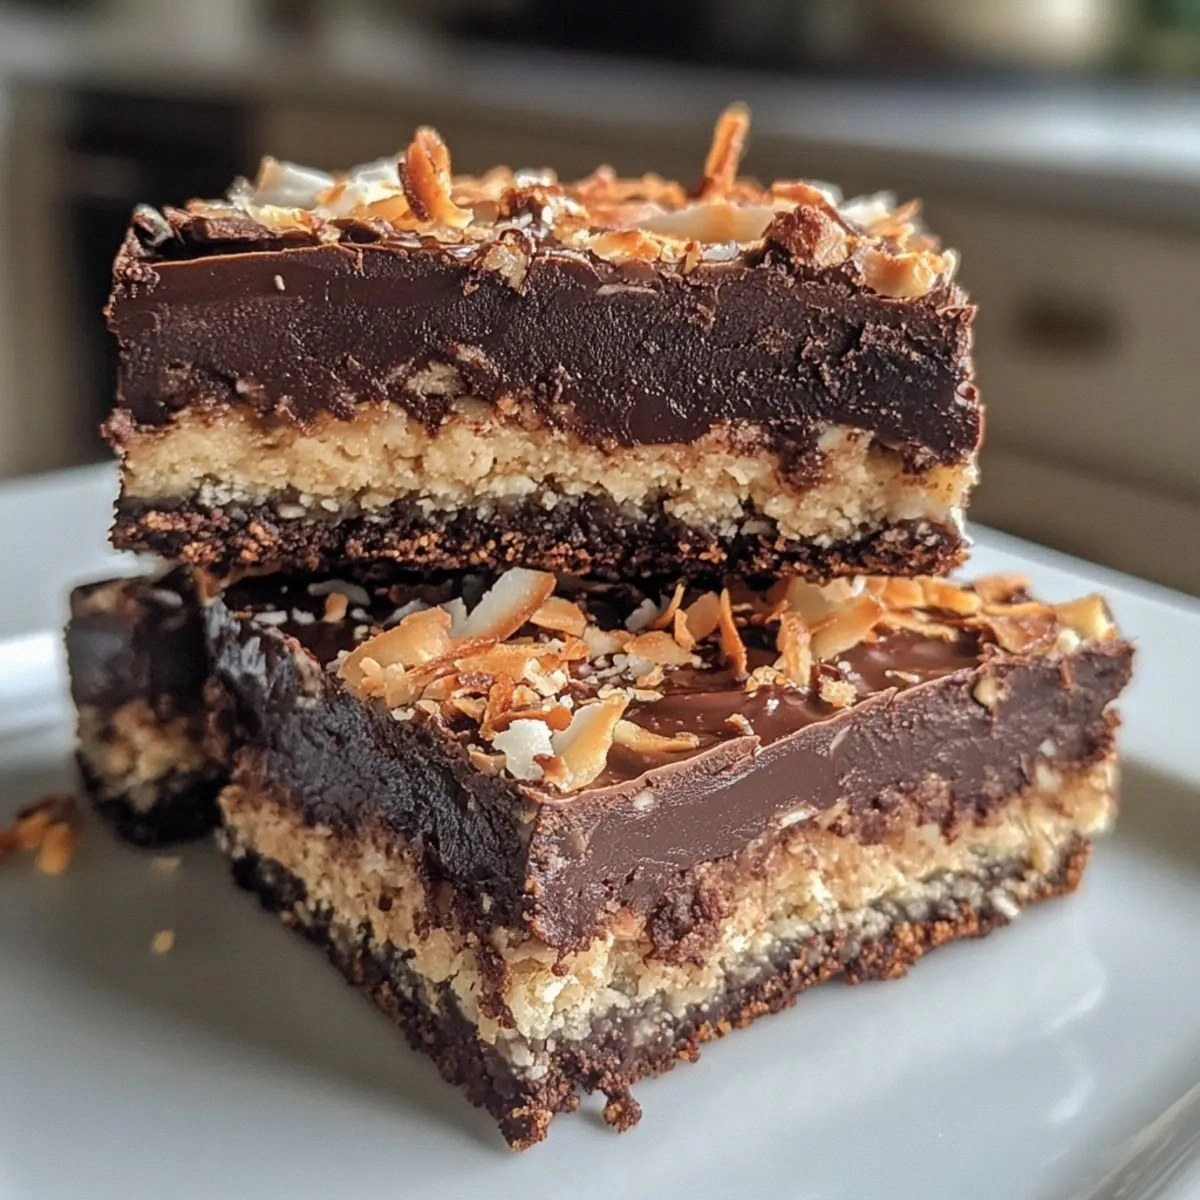
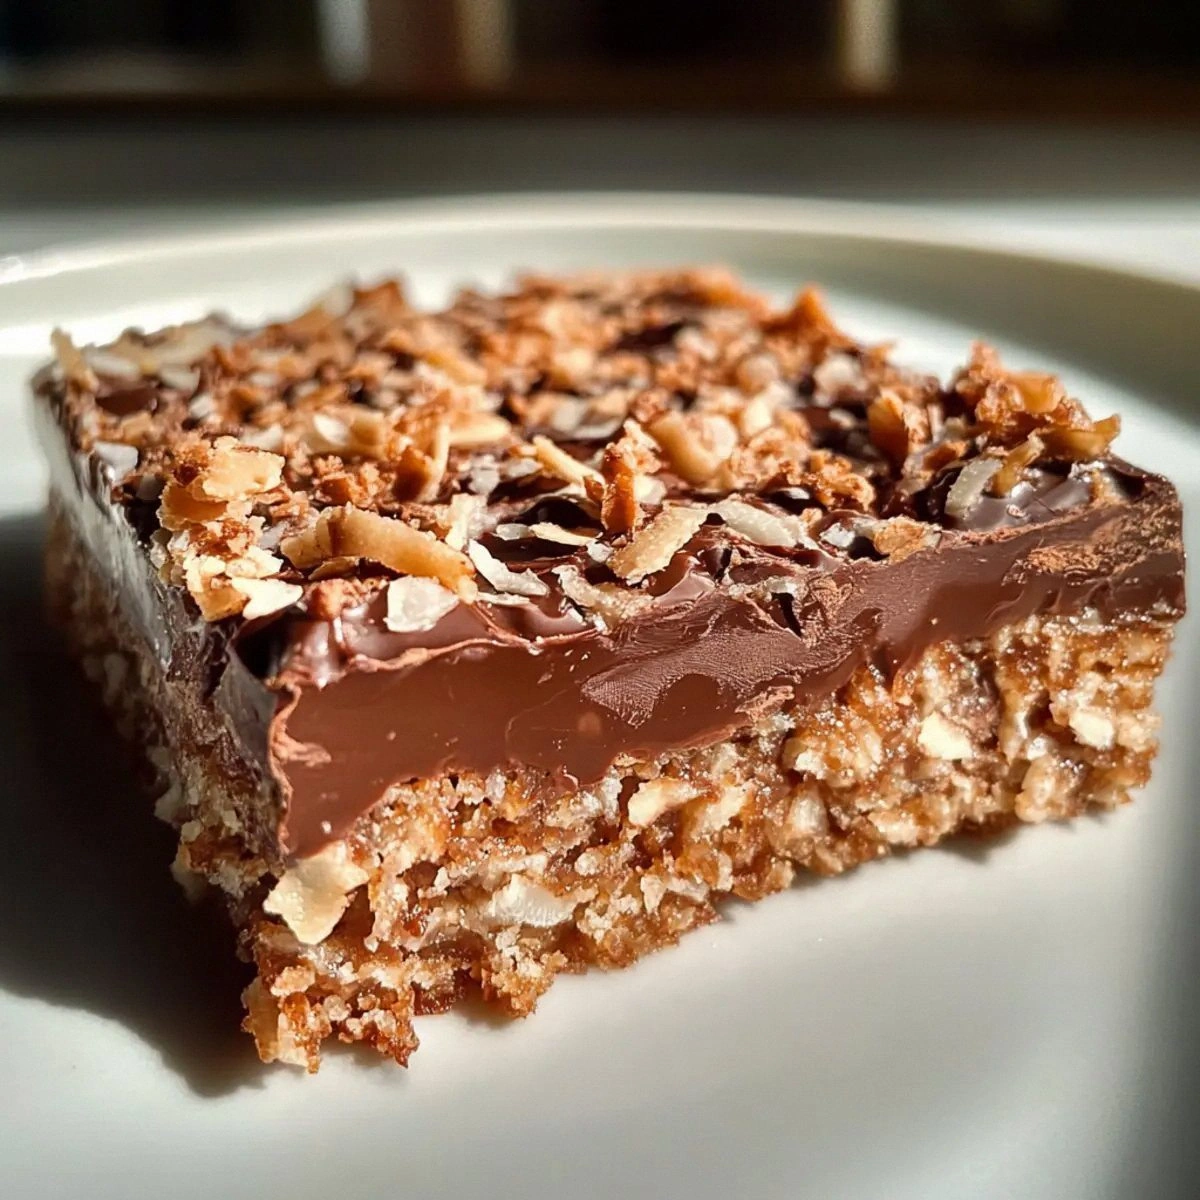
Picture this: the oven door swings open, a golden‑brown crust cracks open just enough to reveal a chewy, caramel‑kissed interior studded with glossy chocolate chips that melt like tiny suns. The first bite is a cascade of textures – the crunch of walnuts, the soft chew of oats, the silky glide of coconut milk, and the warm hug of cinnamon that makes your taste buds do a little happy dance. The aroma alone could convince a marathon runner to skip the post‑run protein shake and dive straight into dessert. It’s the kind of treat that makes you forget you’re even eating something “healthy,” because the flavor is so bold it practically shouts “indulge!”
Most vegan bar recipes either fall flat on the texture front or rely on a mountain of refined sugars that leave you feeling bloated and guilty. I’ve tried them all – from the bland “energy bar” that could double as a doorstop to the overly sweet “coconut caramel” version that left a sticky mess on my countertops. The secret to this masterpiece is a perfect balance of natural sweeteners, a strategic use of coconut milk for moisture, and a technique that gives you a crisp edge without sacrificing that coveted gooey center. And yes, there’s a surprise ingredient that most recipes completely ignore, turning this bar from good to magical.
I dare you to taste this and not go back for seconds. I’ll be honest — I ate half the batch before anyone else got to try it, and that’s saying something because I was the only one in the house. This is hands down the best version you’ll ever make at home, and I’m about to spill every detail, from the exact moment the molasses caramelizes to the precise temperature that gives you that perfect snap when you pull a bar out of the pan. Let me walk you through every single step — by the end, you’ll wonder how you ever made it any other way.
What Makes This Version Stand Out
- Flavor Fusion: The combination of molasses and coconut sugar creates a deep, caramel‑like sweetness that outshines ordinary brown sugar, while the cinnamon adds a warm, aromatic punch that lingers on the palate.
- Texture Symphony: Rolled oats give a hearty chew, walnuts add a buttery crunch, and the coconut flakes provide a delicate, airy bite that keeps every mouthful interesting.
- Moisture Mastery: Coconut milk acts as the secret liquid gold, ensuring the bars stay moist without becoming soggy, and it also adds a subtle tropical undertone.
- Simplicity Meets Sophistication: Only eight ingredients, all pantry‑friendly, yet the result feels like it was crafted by a pastry chef in a five‑star kitchen.
- Guilt‑Free Indulgence: No refined white sugar, no dairy, no eggs – just natural sweeteners and wholesome fats that keep the calorie count reasonable while delivering big flavor.
- Make‑Ahead Magic: These bars keep their texture and flavor for up to a week in the fridge, and they freeze beautifully for a quick grab‑and‑go snack.
- Crowd‑Pleaser Factor: Whether you’re serving them at a brunch, a kid’s after‑school snack, or a post‑workout refuel, they disappear faster than you can say “vegan.”
- Eco‑Friendly Choice: All ingredients are plant‑based, reducing your carbon footprint while still delivering a decadent treat.
Inside the Ingredient List
The Flavor Base
Molasses is the unsung hero of this recipe. Its deep, slightly bitter caramel notes balance the natural sweetness of coconut sugar, creating a flavor depth that ordinary sweeteners can’t match. If you skip the molasses, you’ll lose that rich, almost toffee‑like backbone, and the bars will feel one‑dimensional. As a swap, you can use dark maple syrup, but expect a lighter flavor profile and a hint of maple that will dominate the subtle spices.
The Texture Crew
Rolled oats provide the structural framework – they absorb the coconut milk and hold everything together without turning mushy. Walnuts bring a buttery crunch and a dose of healthy omega‑3 fats, while coconut flakes add a light, airy texture that prevents the bars from feeling too dense. If you’re allergic to nuts, try toasted pumpkin seeds; they mimic the crunch and add a pleasant earthiness.
The Unexpected Star
Coconut milk is the liquid gold that binds the dry ingredients while keeping the bars moist and tender. It also imparts a subtle coconut aroma that pairs perfectly with the toasted flakes. For a dairy‑free alternative, you could use oat milk, but the richness will be slightly reduced, and you might need to add an extra tablespoon of coconut oil to compensate.
The Final Flourish
Chocolate chips are the finishing touch – they melt into pockets of gooey bliss that contrast beautifully with the crunchy nuts. If you’re aiming for a lower‑sugar version, use dark chocolate chips with at least 70% cocoa; they bring a bittersweet edge that complements the molasses. A fun swap is dried cherries or cranberries, which introduce a tart pop that brightens the overall flavor.
Everything's prepped? Good. Let's get into the real action…
The Method — Step by Step
Preheat your oven to 350°F (175°C) and line a 9×13‑inch baking pan with parchment paper, allowing extra overhang for easy lifting later. This temperature is crucial because it gives the bars enough heat to set the edges while keeping the center chewy. While the oven warms, you’ll hear the faint tick of the thermostat – that’s your cue to start prepping the dry ingredients.
Okay, ready for the game‑changer? Toast the rolled oats and walnuts together on a rimmed baking sheet for 5‑7 minutes, stirring halfway. You’ll notice a nutty aroma that fills the kitchen like a promise; that’s the flavor foundation you’re building.
In a large mixing bowl, combine the toasted oats, walnuts, coconut flakes, and chocolate chips. Give them a quick toss so everything is evenly distributed. This step is where the “texture crew” gets its marching order, and the chocolate chips stay in distinct pockets rather than melting into a uniform brown mass.
In a saucepan over medium heat, whisk together coconut milk, molasses, coconut sugar, and cinnamon. Let the mixture come to a gentle simmer – you’ll see tiny bubbles forming around the edges, and the scent will become intoxicatingly sweet. Once it simmers for about 2 minutes, remove from heat. This is pure magic; the molasses thickens just enough to coat every oat without turning into a hard candy.
Pour the hot coconut‑molasses mixture over the dry ingredients. Using a sturdy spatula, fold everything together until the oats and nuts are fully coated. You’ll feel the mixture become glossy and slightly sticky – that’s the sign the bars will hold together without needing an egg binder.
And now the fun part: press the mixture firmly into the prepared pan. Use the back of a spoon or a piece of parchment to smooth the top; you want an even surface so the bars bake uniformly.
Bake for 25‑30 minutes, or until the edges turn a deep golden brown and a toothpick inserted into the center comes out with just a few moist crumbs. The kitchen will fill with a toasty, caramel‑coconut perfume that makes you want to peek inside the oven early – resist the urge! The bars should feel set but still have a slight wobble in the middle; that’s the perfect chewiness.
Allow the bars to cool in the pan for 15 minutes, then lift them out using the parchment overhang and transfer to a wire rack. Cooling is essential; it lets the interior set fully and prevents the bars from falling apart when you cut them.
While they cool, you’ll notice the chocolate chips solidify into glossy nuggets that catch the light – a visual cue that the bars are ready for the next step.
Once completely cool, slice into 12 even bars using a sharp knife that’s been warmed under hot water (then dried). Warmed blades glide through the bars without crushing the delicate interior. This is the moment of truth – the bars should hold together, with a slight give in the middle and a crisp edge.
Picture yourself pulling this out of the oven, the whole kitchen smelling incredible, and then taking that first bite. That sizzle when it hits the pan? Absolute perfection.
That's it — you did it. But hold on, I've got a few more tricks that'll take this to another level...
Insider Tricks for Flawless Results
The Temperature Rule Nobody Follows
Never underestimate the power of a consistent oven temperature. If your oven runs hot, the bars will brown too quickly, leaving the interior undercooked. Use an oven thermometer to verify the actual temperature, and if needed, lower the setting by 10‑15°F. A friend once baked these at 375°F and ended up with burnt edges and a gummy center – not a pretty sight.
Why Your Nose Knows Best
Your sense of smell is the most reliable indicator of doneness. When the bars start emitting a caramel‑coconut scent with a hint of toasted walnut, you’re close. If the aroma is faint, give them a couple more minutes. I’ve learned to trust my nose more than the timer; the timer is just a suggestion.
The 5‑Minute Rest That Changes Everything
After removing the pan from the oven, let the bars rest untouched for exactly five minutes before cutting. This short pause lets the sugars settle and the structure firm up, preventing crumbly edges. Skipping this step leads to messy slices that crumble like dry sand.
Cool‑Then‑Freeze Strategy
If you plan to store these for longer than a week, freeze them after they’ve completely cooled. Wrap each bar individually in parchment and then place them in a zip‑top bag. When you’re ready to eat, a quick microwave (20 seconds) or a gentle oven warm‑up restores the chewy texture.
The Secret of the Final Glaze
For an extra glossy finish, drizzle a thin layer of melted dark chocolate over the cooled bars. The chocolate sets into a thin shell that adds a snap and an extra visual wow factor. I tried this once for a brunch buffet, and guests thought I’d hired a professional pastry chef.
Creative Twists and Variations
This recipe is a playground. Here are some of my favorite ways to switch things up:
Berry Burst
Fold in ½ cup dried cranberries and swap chocolate chips for white chocolate chunks. The tartness of the cranberries balances the sweet molasses, and the white chocolate adds a creamy melt that’s perfect for spring picnics.
Spiced Chai
Add a pinch of ground ginger, cardamom, and a dash of black pepper to the cinnamon. This spice blend turns the bars into a warm, comforting snack reminiscent of a chai latte, ideal for chilly evenings.
Nut‑Free Delight
Replace walnuts with toasted sunflower seeds and swap coconut flakes for toasted quinoa flakes. The result is still crunchy but free from common allergens, making it great for school lunches.
Protein Power
Stir in ¼ cup vegan protein powder (vanilla or unflavored) and increase the coconut milk by 2 tablespoons to maintain moisture. These bars become a post‑workout refuel that still satisfies sweet cravings.
Tropical Twist
Add ¼ cup chopped dried pineapple and replace half the chocolate chips with toasted coconut chips. The pineapple adds a juicy burst, while the extra coconut amplifies the island vibe.
Storing and Bringing It Back to Life
Fridge Storage
Place the bars in an airtight container and store them in the refrigerator for up to 7 days. The cool environment preserves the chewy interior and keeps the chocolate chips from melting.
Freezer Friendly
Wrap each bar individually in parchment, then seal them in a freezer‑safe bag. They’ll stay fresh for up to 3 months. When you’re ready to enjoy one, let it thaw at room temperature for 10 minutes, then give it a quick microwave zap (15‑20 seconds) to restore that warm, gooey feel.
Best Reheating Method
Add a tiny splash (about a teaspoon) of coconut milk or water to the bar before microwaving. The added moisture steams the bar back to perfection, preventing it from drying out. A quick 20‑second burst is all you need to revive that fresh‑out‑of‑the‑oven texture.