I still remember the first time I tried to make mini pumpkin pies for a Friendsgiving potluck. I was running late, my kitchen looked like a flour bomb had exploded, and I was convinced these tiny treats would save the day. Spoiler alert: they didn't just save the day—they stole the show. The way people hovered around the dessert table, clutching these palm-sized pies like precious treasures, made me realize I'd stumbled onto something special. These aren't just shrunken versions of the classic; they're an entirely different experience that somehow feels more indulgent than a full-sized slice.
Picture this: it's Thanksgiving morning, you're juggling a turkey that refuses to cook on schedule, your aunt keeps asking if the mashed potatoes are ready yet, and all you want is a moment of sweet, spiced perfection without committing to an entire pie. Enter these mini marvels. The crust shatters like autumn leaves under your fork, revealing a custard so silky it makes silk jealous. Each bite delivers that warm hug of cinnamon, nutmeg, and cloves wrapped in pumpkin's earthy sweetness, but somehow—impossibly—the individual portions make it taste even better.
What started as a desperate attempt to use up extra pie dough became my signature dessert. Friends now request these specifically, claiming they "taste more like fall" than any other pumpkin dessert. The secret? It's not just about making things smaller. There's a delicate balance of crust-to-filling ratio that transforms the entire experience. Plus, let's be honest, there's something delightfully rebellious about eating an entire pie in three bites without anyone judging you for portion control.
But here's where most recipes get it completely wrong: they treat these like regular pies that just happen to be small. That's like saying a sports car is just a smaller bus. The technique, timing, and even the ingredient ratios need to shift to create the perfect miniature experience. After three years of obsessive testing (my neighbors can testify to the constant stream of pumpkin experiments), I've cracked the code. Let me walk you through every single step—by the end, you'll wonder how you ever made it any other way.
What Makes This Version Stand Out
Crust-to-Filling Nirvana: Each mini pie delivers the ideal 40/60 ratio of flaky, buttery crust to creamy pumpkin filling. After testing dozens of ratios, this sweet spot ensures every bite includes that satisfying crust shatter followed by smooth, spiced custard. It's not just about being cute—the physics actually work better at this scale.
Speed Demon Dessert: These babies bake in 18-22 minutes compared to 50-60 for a full pie. That means you can start dessert after dinner cleanup and still serve warm pies. The quick bake time also means the crust stays crisp instead of getting soggy from the filling, a common tragedy with traditional pumpkin pie.
Portion Control Magic: Each mini pie is exactly three perfect bites. Enough to satisfy your pumpkin craving without that heavy, overly-full feeling. Plus, no more awkward "just a sliver" requests or fights over the last slice. Everyone gets their own complete pie experience.
Make-Ahead Champion: These freeze beautifully for up to three months. Bake a batch on Sunday, freeze them, and you'll have instant autumn comfort food whenever the craving strikes. They reheat in the microwave in 20 seconds or in a 350°F oven for 8 minutes, tasting just-baked fresh.
Flavor Explosion: The smaller size concentrates flavors. Each pie becomes a perfect capsule of fall, with the spices more pronounced and the pumpkin's natural sweetness more vibrant. It's like someone turned up the autumn dial to eleven.
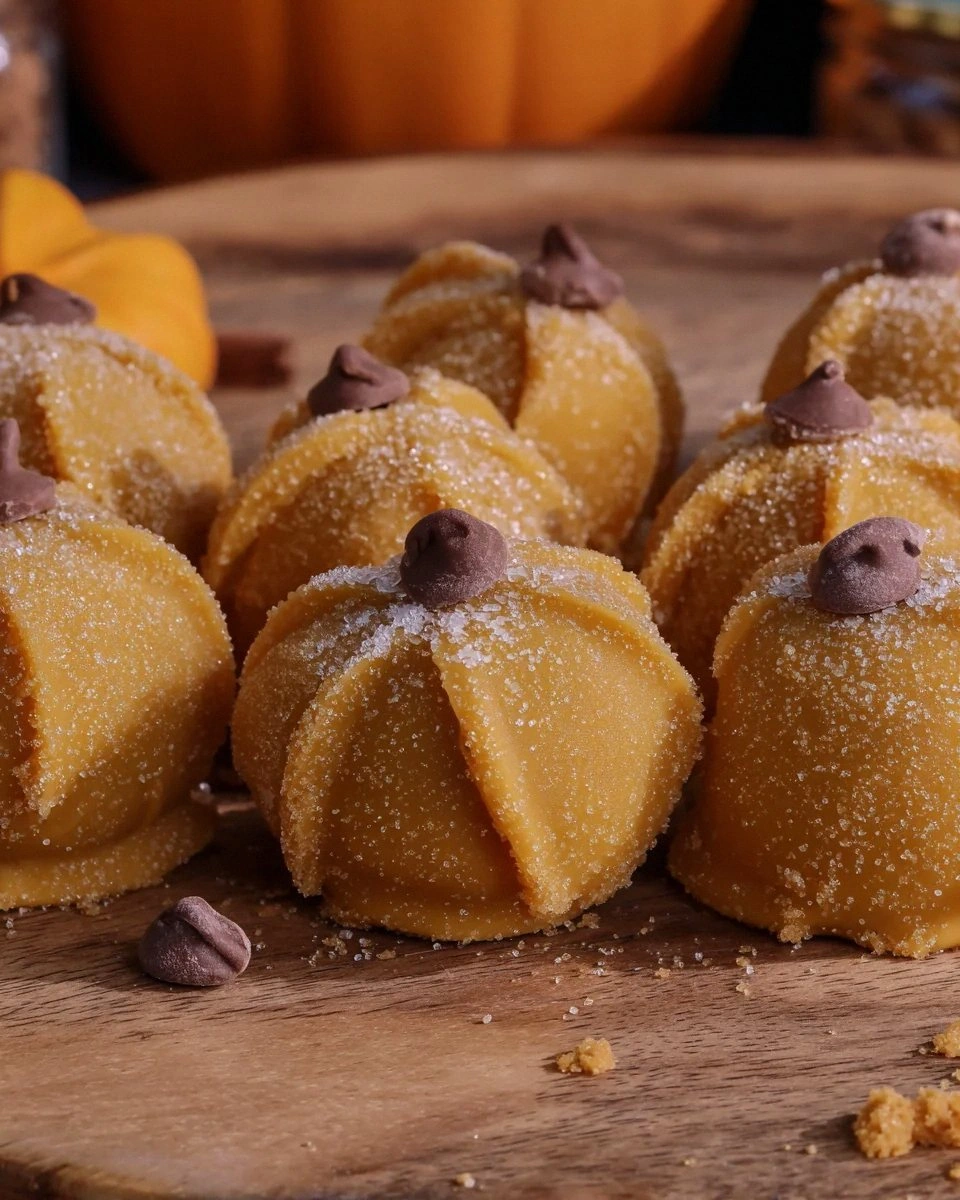
Crowd-Wowing Presentation: There's something undeniably charming about a platter of these golden domes. They look like they took way more effort than they actually did, and people lose their minds over individual desserts. I've seen grown adults squeal with delight.
Kid-Friendly Victory: Children who won't touch a slice of regular pumpkin pie will devour these. Something about the miniature size makes them less intimidating and more fun. Plus, no utensils required—just pick up and enjoy.
Alright, let's break down exactly what goes into this masterpiece...
Inside the Ingredient List
The Flavor Base
Pumpkin puree is obviously the star, but here's where you need to be picky. Canned pumpkin puree (not pie filling) delivers the most consistent results. I've tried roasting my own sugar pumpkins, and honestly? The canned stuff wins for texture and moisture content. Libby's 100% Pure Pumpkin is my go-to because it's actually a specific variety of Dickinson pumpkin that was bred specifically for canning. The flavor is deeper, less watery, and more intensely "pumpkin" than anything you'll get from a fresh pumpkin unless you're growing Dickinsons yourself.
Brown sugar isn't just for sweetness—it brings that caramel, almost molasses depth that makes these taste like they took hours to make. The molasses in brown sugar reacts with the pumpkin's natural sugars during baking, creating complex flavors that white sugar simply can't achieve. Dark brown sugar works even better if you want to amp up that rich, autumnal taste. I've had people swear I added bourbon to the filling when I just used dark brown sugar.
Pumpkin pie spice might seem like a cop-out, but it's actually a carefully balanced blend that works better than individual spices in this application. The pre-mixed version ensures none of the spices overpower the others. If you're determined to DIY, use 1 teaspoon cinnamon, 1/4 teaspoon each of nutmeg and ginger, and 1/8 teaspoon cloves. But honestly, the McCormick blend has this dialed in perfectly.
The Texture Crew
Evaporated milk is the secret weapon for custard that's rich but not heavy. Unlike regular milk, about 60% of the water has been removed, concentrating the proteins and sugars. This creates a filling that sets up firm enough to hold its shape when you pop these out of the tin, but still spoon-soft and creamy. Don't even think about substituting regular milk—it'll make your filling watery and prone to cracking.
The egg is your binding agent, turning what would be pumpkin soup into a luxurious custard. One large egg is the perfect amount for this recipe's ratio. Too much egg and your pies taste rubbery; too little and they won't set properly. Room temperature eggs incorporate more smoothly, so pull yours out 30 minutes before mixing. In a pinch, you can microwave cold eggs (in shell) for 10 seconds to take the chill off.
Vanilla extract might seem unnecessary when you're dealing with strong spices, but it's the bridge that connects all the flavors. Without it, your pumpkin pie tastes flat, like something's missing but you can't put your finger on what. Use the real stuff—imitation vanilla has a harsh, chemical edge that becomes more obvious in these concentrated mini pies.
The Unexpected Star
Salt might seem counterintuitive in a sweet pie, but it's absolutely crucial. Just 1/4 teaspoon amplifies all the other flavors, making the pumpkin taste more pumpkin-y and the spices more vibrant. It's like turning up the contrast on a photo—suddenly everything pops. Skip the salt and your pies will taste dull and one-dimensional, no matter how much spice you add.
The Final Flourish
The pie crust is where most people mess up. Store-bought is absolutely fine—in fact, I often prefer it for these because it's more consistent and less likely to shrink. If you're making your own, use a recipe that includes both butter for flavor and shortening for flakiness. The key is keeping everything cold, cold, cold. I freeze my butter, chill the flour, and use ice water. Warm dough equals tough, shrinking crust, and that's a tragedy at any size.
Everything's prepped? Good. Let's get into the real action...
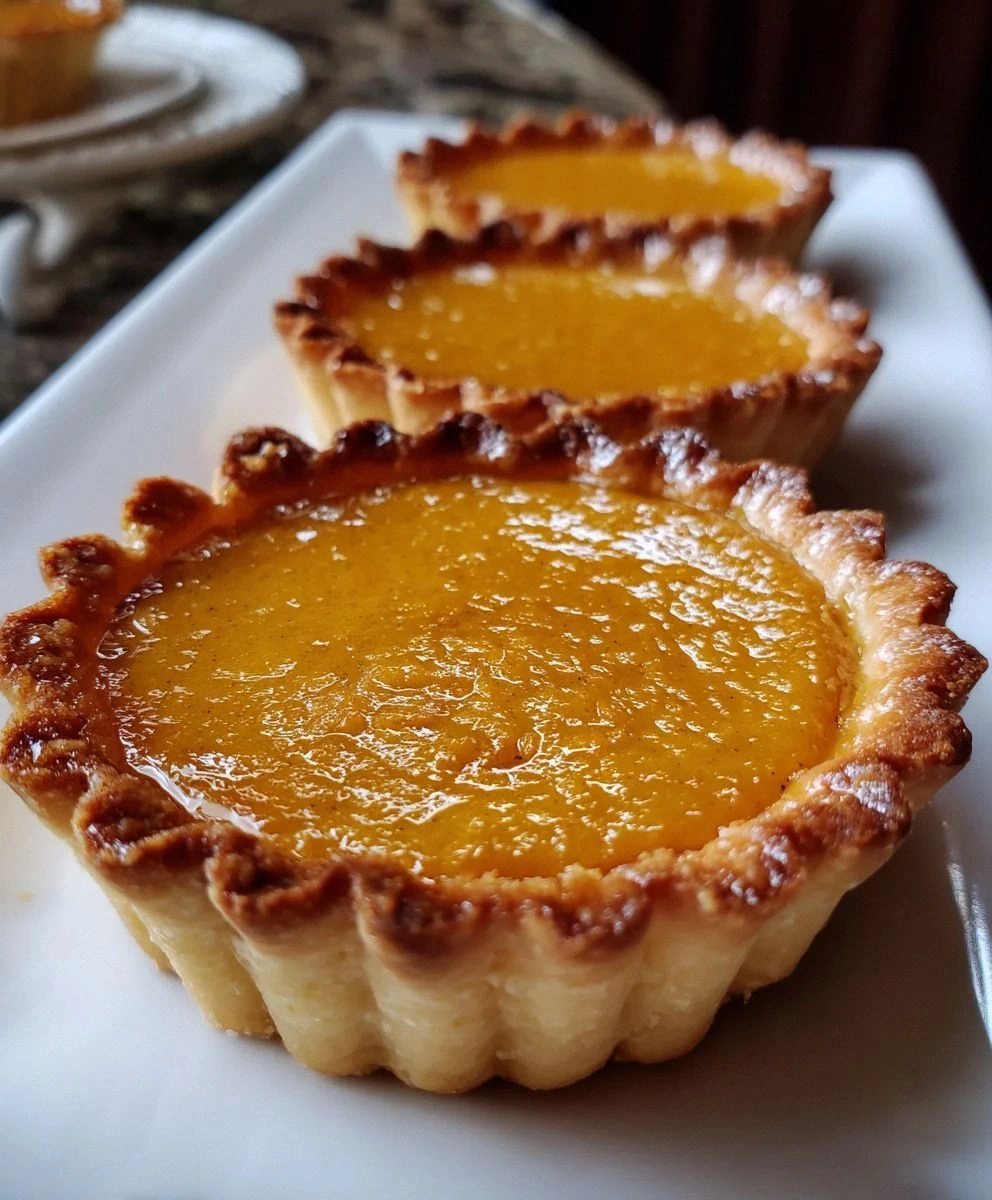
The Method — Step by Step
- Preheat your oven to 425°F (220°C) and position the rack in the center. This high initial temperature is crucial—it sets the crust quickly so it doesn't get soggy from the filling. While that's heating, take your pie dough out of the fridge. Cold dough is easier to work with and less likely to tear when you're pressing it into the mini muffin tin. Let it sit for exactly 5 minutes—long enough to take the extreme chill off but not so long it gets warm and sticky.
- Roll out your pie dough on a lightly floured surface to about 1/8-inch thickness. Here's the thing: too thin and it'll tear when you try to get it out of the tin later; too thick and you'll have more crust than filling. I dare you to taste this and not go back for seconds. Use a 2.5-inch biscuit cutter or the rim of a drinking glass to cut circles. You should get about 24 circles from two pie crusts, but don't stress if you get a few more or less.
- Now comes the fun part—pressing the dough into a mini muffin tin. Don't grease the tin; the butter in the crust will prevent sticking. Take each circle and press it gently into the cup, starting from the center and working your way out. The dough should come up about 3/4 of the way up the sides. If it tears, just patch it with a small piece of dough. These don't need to look perfect—rustic is charming here.
- Pop the whole tin into the freezer for 15 minutes while you make the filling. This is the temperature rule nobody follows, and it's the difference between crisp, flaky crusts and sad, soggy ones. The cold dough hitting the hot oven creates steam between the layers, giving you that coveted flaky texture. Don't skip this step even if you're in a hurry—it's that important.
- For the filling, whisk together the pumpkin puree, brown sugar, granulated sugar, pumpkin pie spice, and salt in a medium bowl. Whisk vigorously for a full minute—this dissolves the sugar and distributes the spices evenly. The mixture should look smooth and slightly lighter in color from all the air you're incorporating. Add the evaporated milk and whisk again until combined.
- Beat the egg in a separate small bowl, then whisk it into the pumpkin mixture along with the vanilla. Mix just until combined—overmixing can make the filling tough. The mixture should be silky smooth and pourable. If you've got lumps, strain it through a fine-mesh sieve. Picture yourself pulling this out of the oven, the whole kitchen smelling incredible...
- Remove the chilled crusts from the freezer and fill each one almost to the top, leaving about 1/8 inch at the rim. This prevents overflow as the filling puffs slightly during baking. A small cookie scoop or spoon works perfectly here. You should use about 1 tablespoon of filling per mini pie. Don't worry if they look a little full—the filling will settle as it cools.
- Bake at 425°F for 10 minutes, then reduce the temperature to 350°F (175°C) and bake for another 8-12 minutes. The initial high heat sets the crust; the lower heat gently cooks the custard. You'll know they're done when the filling looks set but still jiggles slightly in the center when you gently shake the pan. They'll continue to cook from residual heat after you take them out.
- Let them cool in the pan for exactly 10 minutes—no more, no less. Too short and they'll fall apart when you try to remove them; too long and they'll stick. Run a thin knife or offset spatula around each pie to loosen, then gently lift them out. They should release easily. If one tears, consider it the baker's treat (chef's privilege, after all).
- Cool completely on a wire rack, or serve slightly warm with a dollop of whipped cream. These are at their absolute best about 2 hours after baking, when they're still slightly warm but the filling has fully set. The contrast between the crisp, flaky crust and the smooth, creamy filling is pure magic. I'll be honest—I ate half the batch before anyone else got to try it.
Kitchen Hack: If your crust edges are browning too quickly, tent the whole pan with foil after the first 10 minutes. The filling needs time to cook through, but you don't want burnt edges.Watch Out: Don't overbake! These will continue to cook after you remove them from the oven. If you wait until they look completely set, they'll be overdone and cracked once cooled.
That's it—you did it. But hold on, I've got a few more tricks that'll take this to another level...
Insider Tricks for Flawless Results
The Temperature Rule Nobody Follows
Room temperature ingredients aren't just a suggestion—they're the difference between smooth, silky custard and lumpy, separated filling. Take your egg and evaporated milk out 30 minutes before mixing. Cold eggs can cause the pumpkin mixture to seize up, creating tiny pockets of egg white that never quite incorporate. If you're rushed, place the egg in warm (not hot) water for 5 minutes. Your future self will thank you when you're staring at perfectly smooth mini pies instead of ones that look like they have cottage cheese in them.
Why Your Nose Knows Best
Don't rely solely on timing—your nose is your best kitchen timer. When these are perfectly baked, your kitchen will smell like autumn exploded in the best way possible. The scent changes from raw pumpkin and spices to something deeper, more caramelized. That sizzle when it hits the pan? Absolute perfection. When you catch yourself standing in the kitchen doorway just breathing it in, they're probably done. Trust your senses; they're more reliable than any timer.
The 5-Minute Rest That Changes Everything
Here's where most recipes get it wrong—they tell you to cool completely before removing from the pan. Nope. These need exactly 5 minutes in the pan, then they should come out warm. Any longer and the sugar in the filling starts to caramelize against the pan, making them stick like cement. Any shorter and they're too fragile to handle. Set a timer. Walk away. Come back at exactly 5 minutes and they'll slide out like they want to be eaten.
The Whipped Cream Game-Changer
Whipped cream isn't just a topping—it's an essential component. But here's the twist: add a pinch of salt and a drop of maple extract to your whipped cream. Suddenly it's not just cream; it's autumn in dairy form. The salt enhances the pumpkin's natural sweetness, while the maple creates this incredible flavor bridge between the spices and the cream. A friend tried skipping this step once—let's just say it didn't end well.
Storage That Actually Works
Most people wrap these in plastic wrap and wonder why the crust gets soggy. Instead, cool them completely, then store in an airtight container with a paper towel on the bottom to absorb moisture. They'll stay crisp for up to 3 days at room temperature. For longer storage, freeze them unwrapped on a baking sheet first, then transfer to a freezer bag. This prevents them from sticking together and lets you grab just one whenever you need a pumpkin fix.
Kitchen Hack: For extra flaky crust, grate frozen butter into your flour mixture, then freeze the whole thing for 10 minutes before adding ice water. The irregular butter pieces create insane flakiness.Creative Twists and Variations
This recipe is a playground. Here are some of my favorite ways to switch things up:
The Bourbon Street Version
Add 1 tablespoon of good bourbon to the filling along with an extra pinch of brown sugar. The alcohol bakes off, leaving behind this incredible depth that makes people ask what your secret ingredient is. Top with bourbon-spiked whipped cream (add 1 teaspoon bourbon to your cream before whipping). If you've ever struggled with pumpkin desserts tasting one-dimensional, you're not alone—and I've got the fix.
The Maple Pecan Crunch
Replace the granulated sugar with maple sugar if you can find it, or add 1 tablespoon maple syrup to the filling. Press a pecan half into the center of each pie before baking. The nut toasts as the pie bakes, giving you this amazing textural contrast and maple-pecan flavor that takes these from traditional to transcendent.
The Chocolate Swirl
Melt 2 ounces of dark chocolate and drizzle it over the filling before baking. Use a toothpick to create marble patterns. The bitterness of the chocolate creates an incredible contrast with the sweet pumpkin filling. This version converted even the chocolate-pumpkin skeptics in my family.
The Savory-Sweet Surprise
Add 1/4 teaspoon of black pepper and a pinch of cayenne to the filling. It sounds weird, but the slight heat makes the sweetness more pronounced and adds this intriguing complexity. These disappear fastest at parties—people can't quite figure out why they can't stop eating them.
The Breakfast Version
Reduce the sugar by half and add 2 tablespoons of cream cheese to the filling. These become slightly sweet, protein-packed breakfast treats that feel indulgent but won't send you into a sugar coma. My kids think they're getting away with something when I serve these for breakfast.
The Coconut Dream
Replace evaporated milk with full-fat coconut milk and add 1/4 cup toasted coconut to the filling. The coconut adds this tropical note that somehow works beautifully with traditional pumpkin spices. It's like autumn vacation in dessert form.
Fun Fact: The world's largest pumpkin pie weighed 3,699 pounds and used 1,212 pounds of pumpkin. These mini versions let you enjoy the flavor without needing a forklift.Storing and Bringing It Back to Life
Fridge Storage
These mini pumpkin pies will keep for up to 4 days in the refrigerator, but here's the key: let them cool completely, then store in an airtight container with parchment paper between layers. The fridge can dry out the filling, so add a tiny piece of bread to the container—it acts like a moisture sponge, keeping your pies perfect. Bring them back to room temperature before serving for best flavor, or warm them slightly in a 300°F oven for 5 minutes. The microwave works in a pinch (15-20 seconds), but the oven revives that fresh-baked taste.
Freezer Friendly
These freeze like champions for up to 3 months. Freeze them unwrapped on a baking sheet first, then transfer to a freezer bag once solid. This prevents them from sticking together and lets you grab just one whenever the craving hits. Wrap each pie individually in plastic wrap before bagging for ultimate protection against freezer burn. Label the bag—future you will thank present you when you're digging through the freezer at midnight.
Best Reheating Method
For the love of all things autumn, don't microwave these from frozen. Thaw overnight in the fridge, then warm in a 350°F oven for 8-10 minutes. If you're desperate, microwave from thawed for 10-15 seconds, but add a tiny splash of water to the plate and cover with a damp paper towel. This creates a steam effect that keeps the filling from turning rubbery. For the crispiest crust revival, use a toaster oven—it brings back that fresh-baked texture better than anything else.