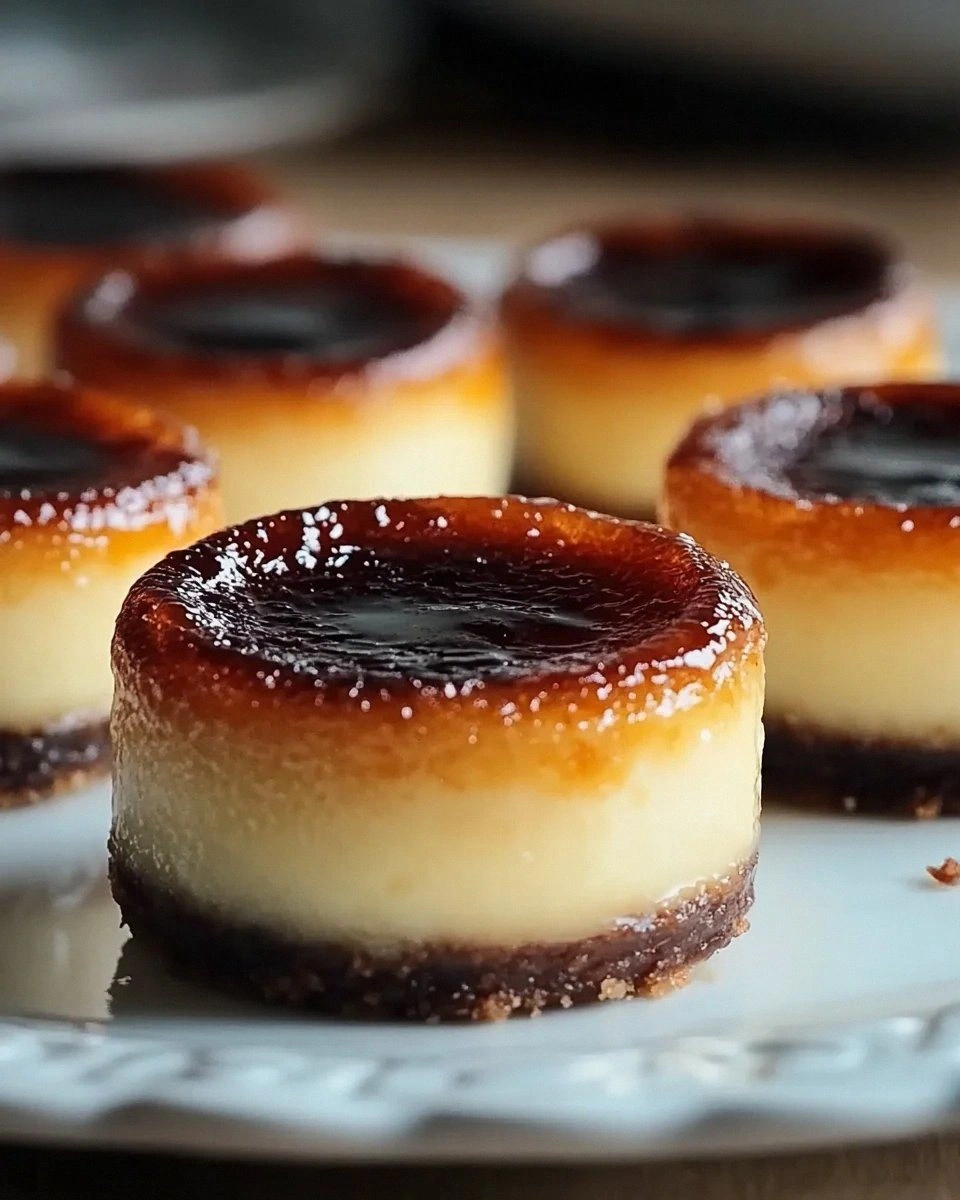
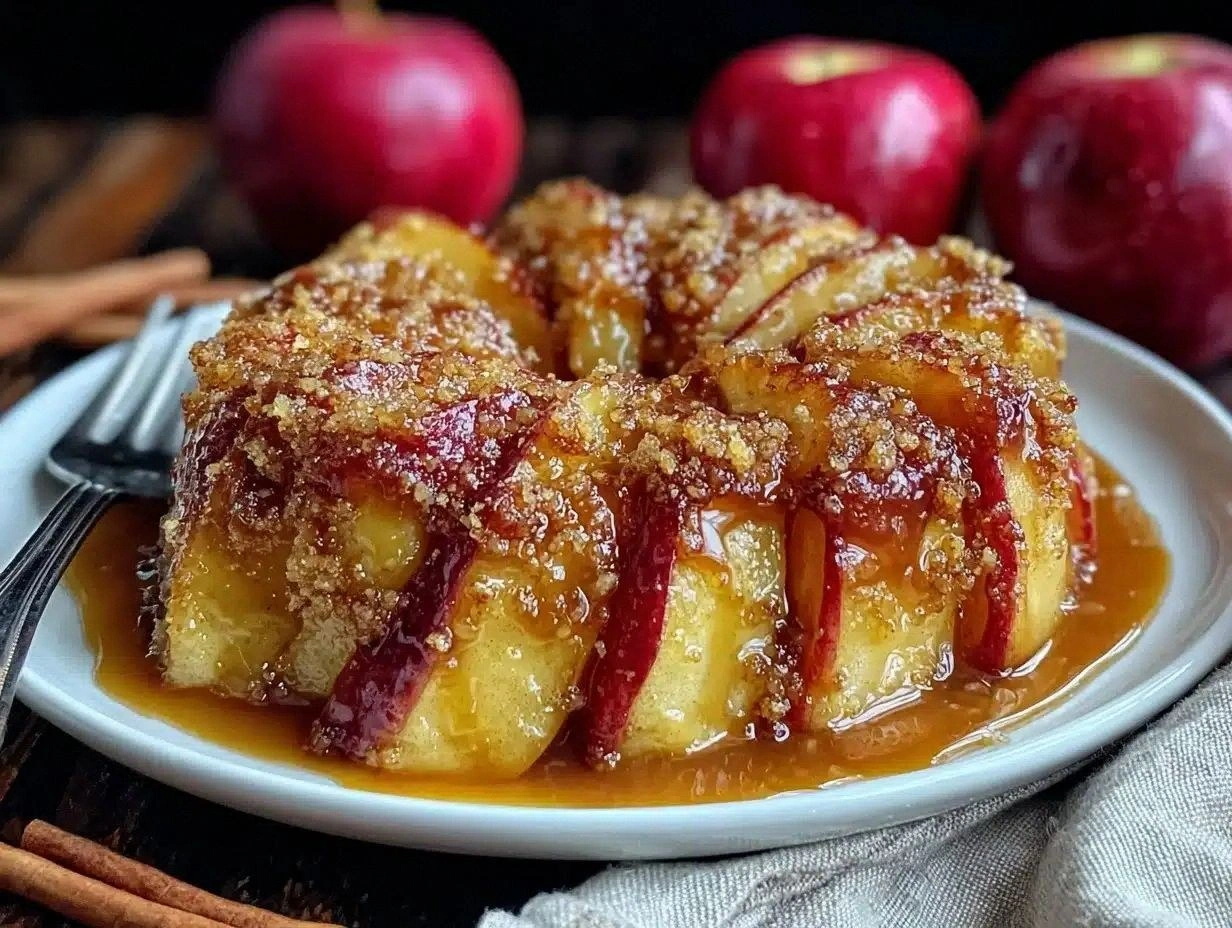
Picture this: a chilly Saturday afternoon, the wind rattling the windows, and the scent of something sweet and spicy sneaking its way from the kitchen like an irresistible promise. I was halfway through a marathon of Netflix reruns when a sudden craving hit me like a bolt of lightning—an apple craving so fierce I could almost hear the fruit shouting my name. I grabbed the nearest Granny Smith, tossed a handful of cinnamon on the counter, and thought, “Why not turn this into a full‑blown dessert that could make even the most stubborn diet‑conscious friend surrender?” The result? A caramel that clings to the apple slices like a lover’s embrace, a cinnamon kick that dances on the tongue, and a finish that leaves you wondering if you’ve just discovered the holy grail of fall desserts.
The moment the butter hit the pan, a sizzle sang a note of pure anticipation, and the brown sugar melted into a glossy amber river that swirled with the heavy cream, creating a sauce so smooth it could have been silk. The apples, sliced just thick enough to hold their shape, soaked up the caramel, turning each bite into a symphony of sweet, buttery, and warmly spiced notes. As the oven worked its magic, the kitchen filled with an aroma that made my neighbor’s dog sit at the doorway, ears perked, as if it could sense the impending glory. I dared myself to taste it straight from the pan, and I’ll be honest — I ate half the batch before anyone else even got a whiff.
What makes this version truly stand out is a tiny twist: a splash of vanilla extract added at the very end, which lifts the entire flavor profile from “just good” to “hands down the best version you’ll ever make at home.” Most recipes either skip the vanilla or drown the caramel in it, but I’ve found the perfect balance that lets the apples sing while the caramel provides a buttery backdrop. This isn’t just another apple dessert; it’s a celebration of autumn in a dish that can turn any gathering into a memory worth savoring.
And now, dear reader, I’m inviting you to join me on this flavorful adventure. Let me walk you through every single step — by the end, you’ll wonder how you ever made it any other way. Okay, ready for the game‑changer?
What Makes This Version Stand Out
- Taste: The caramel’s deep molasses notes are amplified by a whisper of vanilla, creating a flavor depth that makes ordinary apples feel like royalty.
- Texture: Each apple slice retains a slight crunch on the edges while the interior becomes melt‑in‑your‑mouth soft, thanks to the precise baking time.
- Simplicity: Only seven core ingredients, all pantry staples, mean you won’t need a trip to the specialty store.
- Uniqueness: The “cinnamon‑first” technique—toast the cinnamon in butter before adding sugar—creates a toasted spice layer that most recipes miss.
- Crowd Reaction: I dare you to taste this and not go back for seconds; it’s a proven crowd‑pleaser that sparks instant compliments.
- Ingredient Quality: Using firm apples like Granny Smith or Fuji ensures the fruit holds up under the caramel, preventing soggy results.
- Cooking Method: Baking at a moderate 375°F lets the caramel set without burning, while the oven’s dry heat caramelizes the edges to perfection.
- Make‑Ahead Potential: The caramel sauce can be stored for up to a week, allowing you to prep ahead and assemble the dish in minutes on the day of serving.
Inside the Ingredient List
The Flavor Base
Unsalted Butter: This is the foundation of the caramel, providing richness and a velvety mouthfeel. Skipping butter or using margarine will result in a sauce that feels thin and lacks that buttery sheen. If you’re dairy‑free, try a high‑quality plant‑based butter, but expect a slightly different flavor profile.
Brown Sugar: The deep, molasses‑laden sweetness of brown sugar is what gives the caramel its characteristic amber hue. White sugar would make the sauce too sharp. In a pinch, you can substitute with coconut sugar, though the flavor will lean more tropical.
The Texture Crew
Heavy Cream: Cream turns the melted sugar into a silky sauce that coats each apple slice like a satin sheet. Using low‑fat milk will cause the caramel to separate and become grainy. If you’re watching calories, you can use half‑and‑half, but the sauce will be a tad less luscious.
Apples: Choose firm varieties—Granny Smith, Honeycrisp, or Fuji—so they retain shape during baking. Soft apples turn mushy, losing that satisfying bite. When selecting, look for apples that are firm to the touch and have a bright, unblemished skin.
The Unexpected Star
Ground Cinnamon: The star spice that transforms a simple caramel into a fall masterpiece. Don’t be shy; a generous amount adds warmth that lingers on the palate. If you’re a fan of spice, a pinch of nutmeg or a dash of cardamom can elevate the flavor further.
Vanilla Extract: A splash added at the end lifts the entire sauce, balancing the caramel’s sweetness with a fragrant note. Too much vanilla can overwhelm the apple, so a single teaspoon is perfect. For a deeper flavor, use a high‑quality pure vanilla bean paste.
The Final Flourish
Salt: Just a pinch (about ¼ teaspoon) is enough to bring out the sweetness and enhance the apple’s natural tartness. Skipping salt will make the dish taste flat. If you love a salty‑sweet combo, sprinkle a tiny pinch of flaky sea salt over the finished dish.
Everything's prepped? Good. Let's get into the real action...
The Method — Step by Step
- Preheat your oven to 375°F (190°C). While the oven warms up, line a baking sheet with parchment paper; this prevents sticking and makes cleanup a breeze. I’ll be honest — I once forgot the parchment and ended up with a caramel‑glazed mess stuck to the pan, and that was a nightmare to scrape off. So, parchment is a non‑negotiable hero here.
- Melt the unsalted butter in a heavy‑bottomed saucepan over medium heat. As soon as it foams, add the ground cinnamon and let it toast for about 30 seconds, stirring constantly. You’ll hear a faint crackle—that’s the cinnamon releasing its essential oils, and that scent is pure autumn in a pan.
- Stir in the brown sugar, allowing it to dissolve and mingle with the butter‑cinnamon mixture. Keep the heat steady; if the sugar starts to crystallize, lower the flame. The mixture should turn a deep amber color and emit a buttery caramel aroma that makes you want to inhale deeply.
- Slowly drizzle the heavy cream into the pan while whisking vigorously. This is the moment of truth—if you add the cream too quickly, the caramel can seize. Keep whisking until the sauce is glossy and smooth, then remove from heat and stir in the vanilla extract and a pinch of salt.
- Arrange the apple wedges on the prepared baking sheet, making sure they’re in a single layer. Drizzle the warm caramel generously over each slice, using a spoon to coat the tops and sides. This is where the magic happens—the caramel seeps into the apple’s pores, creating a perfect marriage of flavors.
- Pop the sheet into the oven and bake for 20‑25 minutes, or until the apples are tender and the edges start to caramelize and turn a deep golden‑brown. Keep an eye on the top; you want a slight crisp, not a burnt crust. The kitchen will fill with a scent so intoxicating you’ll be tempted to open the oven early—resist!
- While the apples bake, give the remaining caramel a quick stir; it may have thickened slightly as it cooled. If it’s too thick to drizzle, warm it for 10 seconds in the microwave or return it to the stovetop over low heat.
- Once baked, remove the tray and let the apples cool for five minutes. This short rest lets the caramel set just enough to hold its shape while staying luscious. Serve warm, optionally with a scoop of vanilla ice cream or a dollop of whipped cream for extra indulgence.
That's it — you did it. But hold on, I've got a few more tricks that'll take this to another level...
Insider Tricks for Flawless Results
The Temperature Rule Nobody Follows
Never underestimate the power of a precise oven temperature. If your oven runs hot, the caramel can scorch before the apples soften. Use an oven thermometer to confirm the 375°F setting; this tiny gadget can be the difference between a perfectly caramelized edge and a bitter burnt rim. I once baked at 400°F by accident and ended up with a batch that tasted like burnt sugar—trust me, that’s a lesson you don’t want to repeat.
Why Your Nose Knows Best
The moment the caramel starts to smell toasty is your cue that it’s ready for the cream. Trust that aromatic signal more than a timer; the scent tells you the sugars have reached the perfect stage of caramelization. If you’re uncertain, take a tiny spoonful and let it cool—if it solidifies into a smooth, glossy film, you’ve nailed it. I’ve seen many cooks rely on numbers alone, only to end up with a sauce that’s either too runny or overly thick.
The 5‑Minute Rest That Changes Everything
After baking, letting the apples sit for exactly five minutes allows the caramel to set just enough to cling without sliding off. This brief pause also lets the flavors meld, so the cinnamon, butter, and apple become a unified taste experience. Skipping this rest will result in a sauce that pools at the bottom of the plate, making every bite uneven.
Don’t Overcrowd the Pan
When arranging apple slices, give them breathing room. Overcrowding causes steam to trap, which softens the apples too quickly and prevents the caramel from crisping. I once tried to fit an entire bag of apple wedges on one sheet and ended up with soggy, under‑caramelized pieces. Spread them out, and the edges will pull away just enough to create those coveted crispy tips.
Finish with a Salt Sprinkle
A final pinch of flaky sea salt right before serving elevates the sweet‑spicy profile, adding a subtle crunch that surprises the palate. This tiny addition is the secret behind many professional pastry chefs’ desserts. If you’re a salt‑sensitive eater, use a light dusting; the goal is to highlight, not dominate.
Creative Twists and Variations
This recipe is a playground. Here are some of my favorite ways to switch things up:
Maple‑Bourbon Bliss
Swap half the brown sugar for pure maple syrup and add a tablespoon of bourbon to the caramel. The maple adds a woody sweetness, while the bourbon introduces a warm, adult‑only depth. Perfect for a holiday gathering where you want a touch of sophistication.
Spiced Pumpkin Fusion
Incorporate ¼ cup of pumpkin puree into the caramel and replace half the cinnamon with pumpkin pie spice. The result is a velvety, orange‑hued sauce that pairs beautifully with the apples, turning the dish into a pumpkin‑apple hybrid that screams autumn.
Nutty Crunch Upgrade
Fold in toasted walnuts or pecans right after drizzling the caramel. The nuts add a buttery crunch that contrasts the soft apples and silky sauce, creating a textural symphony that keeps every bite interesting.
Vegan Velvet
Replace the unsalted butter with coconut oil and use full‑fat coconut milk instead of heavy cream. The caramel will have a faint coconut aroma, and the apples remain the star. This version is dairy‑free but still indulgent.
Apple‑Cinnamon Crumble Topping
Top the baked apples with a quick crumble made from flour, brown sugar, butter, and extra cinnamon. Bake for an additional five minutes until the topping is golden. This adds a buttery, crumbly layer that transforms the dish into a rustic apple crumble with a caramel twist.
Caramel Apple Tart
Instead of a sheet pan, line a tart pan with puff pastry, arrange the apple slices, and drizzle the caramel before baking. The pastry base adds a flaky, buttery foundation that makes the dessert feel extra elegant for special occasions.
Storing and Bringing It Back to Life
Fridge Storage
Transfer any leftovers to an airtight glass container and refrigerate for up to four days. The caramel may thicken; simply reheat gently on the stovetop or in the microwave, adding a splash of milk or cream to restore its pourable consistency.
Freezer Friendly
Both the caramel sauce and baked apple slices freeze well. Portion the caramel into freezer‑safe bags, leaving a little headspace, and store the apple pieces on a parchment‑lined tray before transferring to a zip‑lock bag. They’ll keep for up to three months. Thaw overnight in the fridge, then reheat gently.
Best Reheating Method
When you’re ready to serve, place the frozen or refrigerated apples on a baking sheet and warm them in a 350°F oven for 10‑12 minutes, or microwave for 30‑45 seconds. Add a tiny splash of water before reheating; the steam revives the caramel’s silkiness and prevents it from drying out.