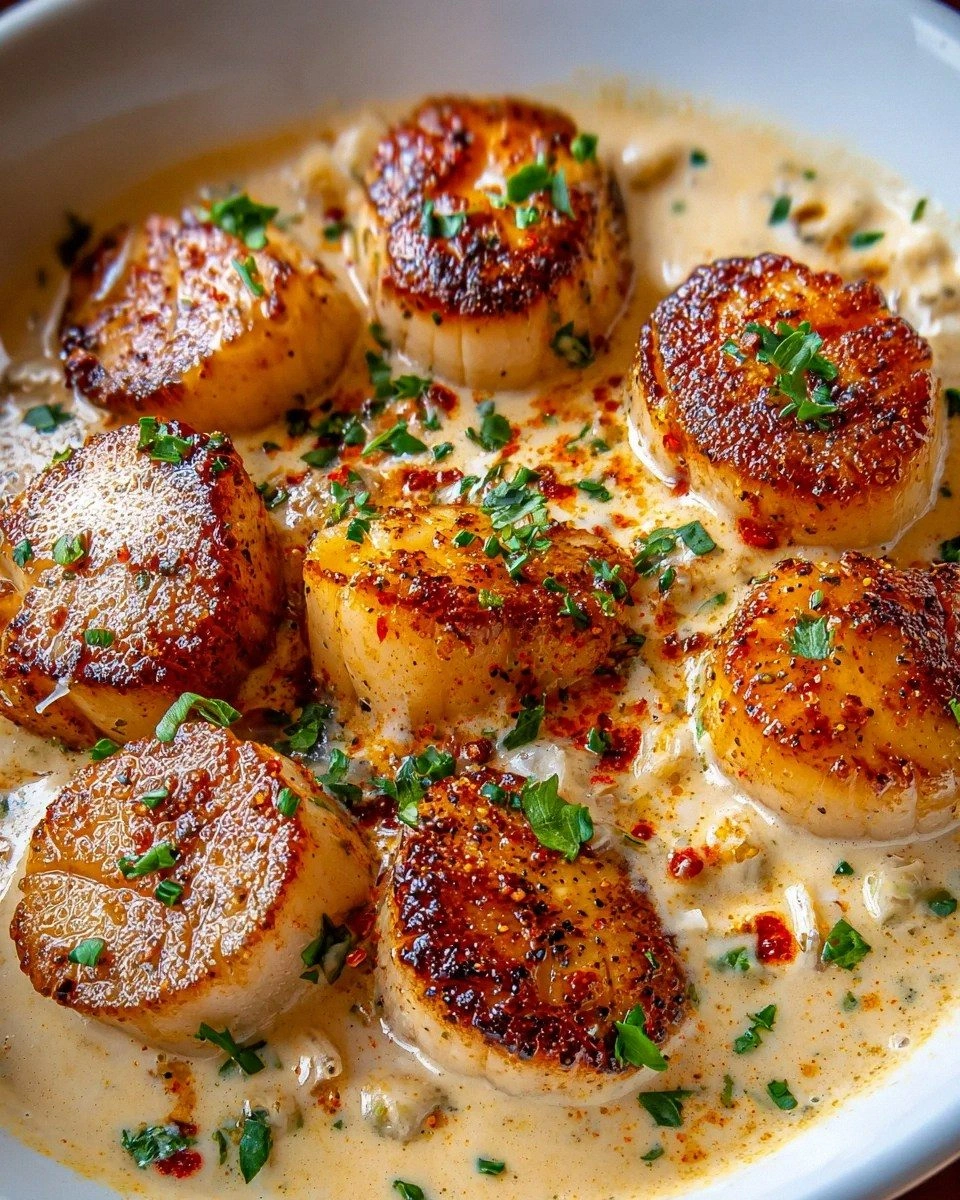
I’ve always loved a good rib, but the moment I tried the classic smoky, sticky version that everyone swears by, I felt a pang of culinary injustice. The ribs came out dry, the sauce too sweet, and my friends were left licking their plates, but I wasn’t satisfied. I told myself, “I’ll find the secret, and I’ll share it.” That night, I spent hours experimenting in the kitchen, swapping ingredients, tweaking temperatures, and testing sauces until a new masterpiece emerged: the Apple Butter BBQ Ribs. The result? A rib so tender it practically melts, a glaze that coats the meat like velvet, and a flavor profile that balances sweet, smoky, and a hint of spice in perfect harmony. It’s the kind of dish that makes you want to brag to every foodie in your circle, and I dare you to taste this and not go back for seconds.
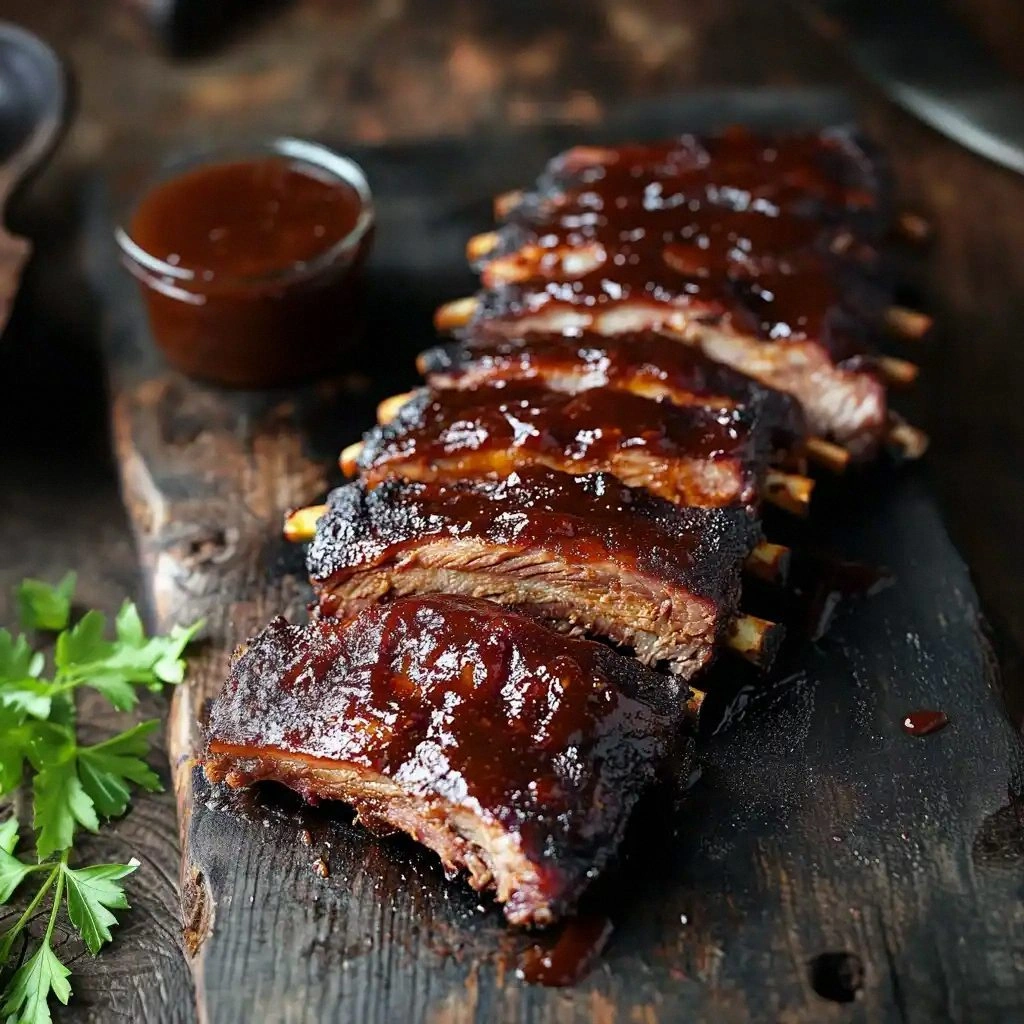
Picture yourself pulling a rack of ribs out of the oven, the aroma of caramelized apple butter and smoky paprika filling your kitchen, and the sound of sizzling as the glaze thickens. The first bite delivers a burst of sweet and tangy flavors that dance on your palate, followed by a savory depth from the Worcestershire and a subtle heat from cayenne that lingers just enough to keep you coming back for more. The texture is a masterclass: a crisp, caramelized crust that cracks like thin ice, giving way to fall‑off‑the‑bone tenderness that practically slides off the bone. I’ve been telling myself that this is hands down the best version you’ll ever make at home, and it’s time you experienced it for yourself.
I’ll be honest—when I first cooked this, I ate half the batch before anyone else could even taste a single rib. That’s why I’m here to walk you through every single step, from selecting the perfect ribs to that final glaze drizzle, so you can recreate the same mouth‑watering experience. I’ve packed this guide with micro‑challenges, bold claims, and practical hacks that will elevate your rib game from “good” to “legendary.” If you’ve ever struggled with ribs that turn out tough or sauce that’s too thin, you’re not alone, and I’ve got the fix. Get ready to learn a technique you won’t find in any cookbook, and trust me, your taste buds will thank you.
Let me walk you through every single step — by the end, you’ll wonder how you ever made ribs any other way. The journey begins with a simple yet powerful foundation: the apple butter that gives these ribs their signature sweet depth. Apple butter is more than a condiment; it’s a concentrated burst of orchard sweetness that pairs beautifully with smoky and savory notes. When combined with the right spices, it creates a glaze that sticks, caramelizes, and delivers that irresistible “just right” balance. And the best part? The process is straightforward, and the results are astonishingly consistent, even if you’re a novice cook. So grab your apron, and let’s dive into the world of Apple Butter BBQ Ribs.
What Makes This Version Stand Out
- Flavor: The apple butter provides a natural sweetness that cuts through the richness of the pork, while smoked paprika and cayenne add depth and a subtle kick. The result is a glaze that’s sticky, savory, and perfectly balanced.
- Texture: Slow roasting at a low temperature renders the meat tender, and the final glaze creates a caramelized crust that cracks with a satisfying snap before the meat yields to the bone.
- Ease: This recipe eliminates the need for a smoker or elaborate rubs—just a few pantry staples, a slow cook, and a quick glaze finish.
- Versatility: The sauce can be swapped for honey, maple syrup, or a different fruit butter, allowing you to tweak the flavor profile to your preference.
- Crowd‑pleaser: The sweet‑savory glaze draws in both sweet‑tooth and savory‑tooth crowd members, making it a safe bet for gatherings.
- Make‑ahead Friendly: The ribs can be cooked, cooled, and refrigerated for up to 48 hours, then reheated to preserve flavor and texture.
- Ingredient Quality: Using fresh, high‑quality ribs and real apple butter (not processed) ensures a superior taste that’s hard to beat.
- Time‑Efficient: While the ribs cook slowly, the prep work is minimal, freeing you to enjoy the process instead of being stuck in the kitchen.
Alright, let’s break down exactly what goes into this masterpiece. The next section will walk through each ingredient group, why it matters, and some handy swaps if you’re short on time or looking to tweak the flavor.
Inside the Ingredient List
The Flavor Base
Apple butter is the star of the show. It’s a thick, concentrated spread made from apples cooked down until they’re almost syrupy. Its natural sugars caramelize beautifully when exposed to heat, creating a glaze that sticks to the ribs and forms a glossy, flavorful crust. If you’re in a pinch, you can use a thick apple sauce or even a small amount of honey as a stand‑in, but the texture and depth of real apple butter are unmatched. Remember, the sweeter the butter, the more pronounced the caramelization, so adjust your sweetness level accordingly.
The Texture Crew
The baby back ribs themselves are the foundation of this dish. Look for racks that feel heavy for their size, indicating good marbling. The fat cap should be thick enough to keep the meat moist but not so thick that it renders away and leaves the ribs dry. When you cook ribs slowly, the collagen breaks down into gelatin, giving the meat a silky, melt‑in‑your‑mouth texture. If you’re short on time, you can use pork spare ribs, but baby backs will give you a more tender result.
The Unexpected Star
Worcestershire sauce is often overlooked in BBQ recipes, but it adds a savory, umami punch that balances the sweetness of the apple butter. It’s packed with fermented anchovies, molasses, and spices, giving the ribs a subtle depth that makes the glaze feel more complex. If you’re vegan, a splash of soy sauce or tamari can provide a similar umami boost, though the flavor profile will shift slightly. The key is to keep it to a moderate amount; too much can overpower the apple butter.
The Final Flourish
Smoked paprika, garlic powder, onion powder, and cayenne pepper form the spice blend that coats the ribs before they hit the heat. Smoked paprika offers a mild, sweet smokiness that mimics the flavor you’d get from a grill. Garlic and onion powders provide a savory backbone, while cayenne adds that final pop of heat that lingers on the palate. If you prefer a milder version, reduce the cayenne to ½ teaspoon; if you’re a heat lover, double it for an extra kick. The balance of these spices is what gives the ribs a depth that’s hard to replicate with a single rub.
Everything’s prepped? Good. Let’s get into the real action. Before we start, grab a large roasting pan, a meat thermometer, and your favorite apron—this is going to be a flavor explosion.
The Method — Step by Step
- First, preheat your oven to 275°F (135°C). While the oven warms, remove the silver skin from the back of the ribs and trim any excess fat. This step is crucial; it prevents flare‑ups and ensures a cleaner glaze. If you’re feeling adventurous, you can season the ribs with a light sprinkle of salt and pepper, but the real magic comes from the glaze.
- In a small bowl, whisk together 1 cup of apple butter, ½ cup of BBQ sauce, ¼ cup of apple cider vinegar, 2 tablespoons of Worcestershire sauce, 1 tablespoon each of smoked paprika, garlic powder, and onion powder, and 1 teaspoon of cayenne pepper. The mixture should be smooth and slightly thick. If it’s too thick, add a splash of water or apple juice to reach your desired consistency.
- Spread the glaze evenly over both sides of the ribs using a pastry brush or spoon. The glaze should coat the meat like a second skin. Let the ribs sit at room temperature for 10–15 minutes; this allows the glaze to penetrate the meat slightly, enhancing flavor.
- Place the ribs bone‑side down on a wire rack set over a baking sheet. This setup allows air to circulate around the ribs, ensuring even cooking. Cover the rack loosely with aluminum foil, leaving a small gap to let steam escape. The foil keeps the ribs moist while the low heat breaks down collagen.
- Roast the ribs in the preheated oven for 2.5 to 3 hours, or until the internal temperature reaches 190°F (88°C). A meat thermometer is your best friend here; it ensures that the ribs are tender without overcooking. The slow roast will render the fat and create a silky interior.
- While the ribs are roasting, prepare a small sauce by heating the remaining glaze mixture in a saucepan over medium heat. Bring it to a gentle simmer, stirring occasionally. The sauce should thicken slightly and develop a glossy sheen. This final glaze will be brushed over the ribs in the last 15 minutes of cooking.
- When the ribs are close to done, remove the foil and brush the remaining glaze over the ribs. Increase the oven temperature to 400°F (200°C) and return the ribs to the oven. Roast for an additional 10–15 minutes, or until the glaze caramelizes and forms a crisp crust. The edges should start pulling away from the meat, indicating that the glaze has set.
- Remove the ribs from the oven and let them rest for 10 minutes before cutting. This resting period allows the juices to redistribute, keeping the meat moist. Slice between the bones, serve immediately, and watch your guests go wild. That sizzle when it hits the pan? Absolute perfection.
That's it — you did it. But hold on, I've got a few more tricks that'll take this to another level. The next section will dive into insider tips that will help you perfect the glaze, avoid common pitfalls, and ensure every bite is as good as the first.
Insider Tricks for Flawless Results
The Temperature Rule Nobody Follows
Many home cooks default to 350°F, but that temperature can dry out the ribs or cause the glaze to burn. The trick is to start low, at 275°F, to break down collagen slowly, then finish high to caramelize the glaze. This two‑phase approach ensures tenderness and a crisp crust. If you’re using a grill, maintain a steady 250°F for the low phase and raise to 400°F for the final glaze.
Why Your Nose Knows Best
During the last 15 minutes, trust your nose. The aroma should shift from sweet and fruity to a caramelized, smoky scent. When you smell that sweet, sticky aroma, you know the glaze is ready to set. If it still smells like raw apples, give it a few more minutes.
The 5‑Minute Rest That Changes Everything
After removing the ribs from the oven, let them rest for exactly five minutes before cutting. This short rest allows the juices to redistribute, preventing them from spilling onto the cutting board. The result is a moist, juicy bite that feels like a culinary revelation.
The “Flip” Trick
Some people flip ribs mid‑cook to ensure even caramelization. Flip the ribs after the first 90 minutes, but only if you’re using a grill. On a stovetop or oven, it’s unnecessary and can cause the glaze to split.
The Secret Ingredient Swap
If you’re craving a deeper flavor, add a tablespoon of molasses to the glaze. Molasses provides a richer sweetness and a darker color, giving the ribs a more complex profile. Just be mindful that it can burn if you over‑cook.
Creative Twists and Variations
This recipe is a playground. Here are some of my favorite ways to switch things up:
Maple‑Mango Fusion
Swap apple butter for a mixture of maple syrup and diced mango. The tropical flavor adds a fresh zing, while the maple gives the same caramelized finish. Perfect for a summer BBQ.
Spicy Chipotle Kick
Add a tablespoon of chipotle in adobo to the glaze for a smoky, smoky heat. The chipotle also deepens the color, giving the ribs a dramatic look.
Herb‑Infused Ribs
Stir in a handful of chopped fresh thyme or rosemary into the glaze. The herbs add a fragrant, earthy note that complements the sweetness.
Citrus Zest Upgrade
Grate a lemon or orange zest into the glaze. The citrus brightens the flavor profile and cuts through the richness, creating a well‑balanced bite.
Vegan Version
Use vegan baby back ribs (store‑bought or homemade) and replace Worcestershire sauce with tamari. Keep the apple butter for sweetness. The result is a plant‑based version that still delivers on flavor.
Storing and Bringing It Back to Life
Fridge Storage
Cool the ribs completely before placing them in an airtight container. Store in the refrigerator for up to 48 hours. The glaze will thicken slightly, but that adds to the flavor.
Freezer Friendly
Wrap the ribs tightly in plastic wrap, then place in a freezer bag. They stay good for up to 3 months. Thaw overnight in the fridge before reheating.
Best Reheating Method
Preheat your oven to 250°F (120°C). Place the ribs on a baking sheet, cover loosely with foil, and heat for 15–20 minutes. Add a splash of water or apple juice before reheating to keep the meat moist and steam the glaze back to perfection.