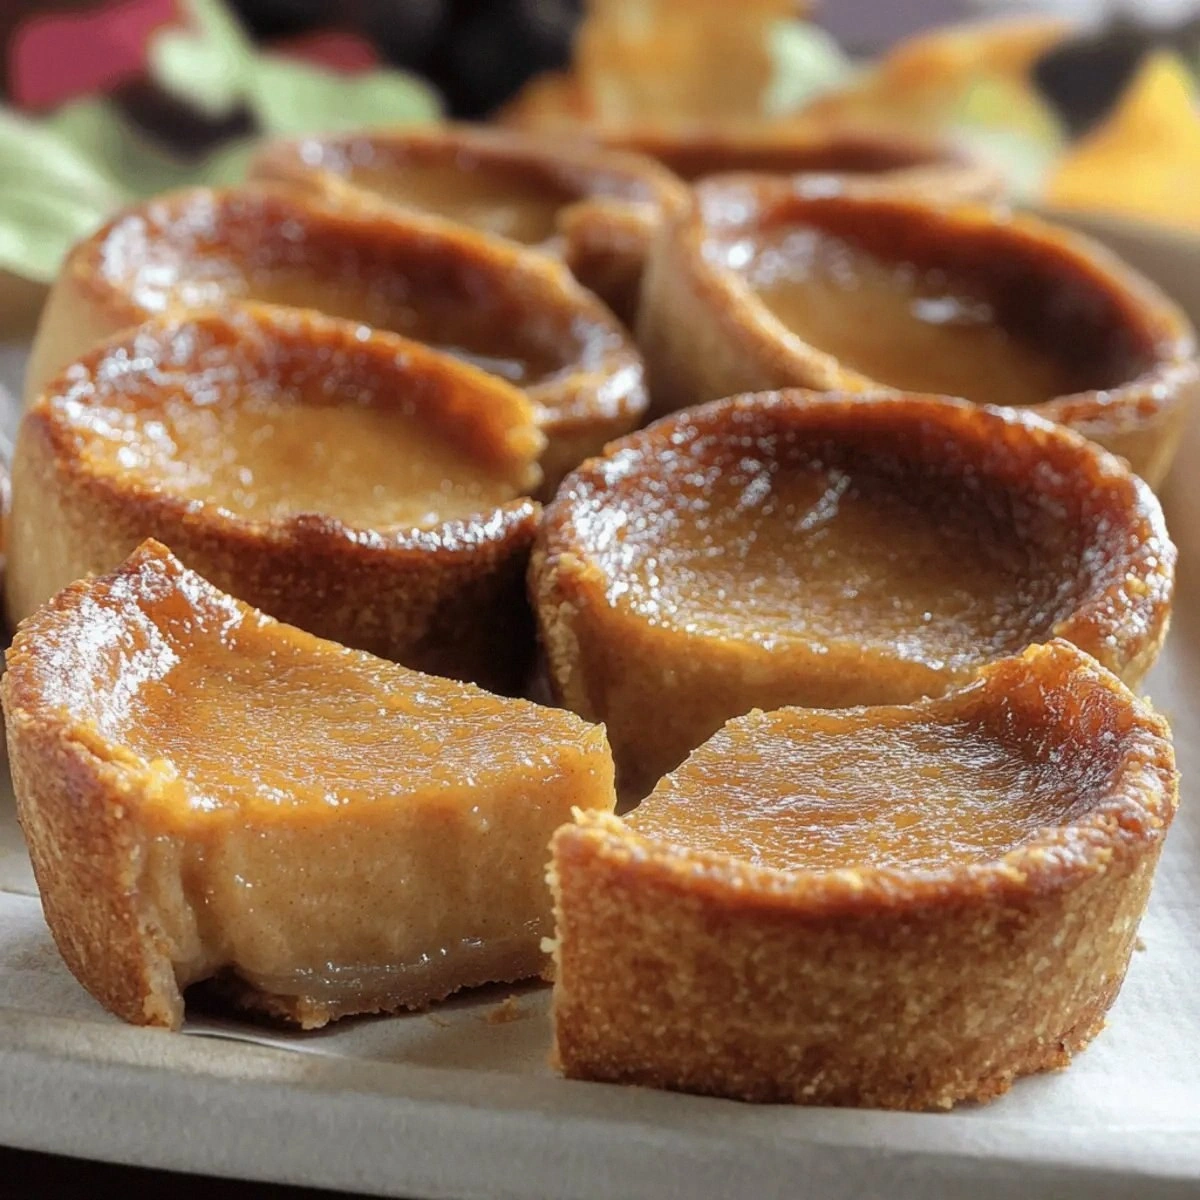
Introduction
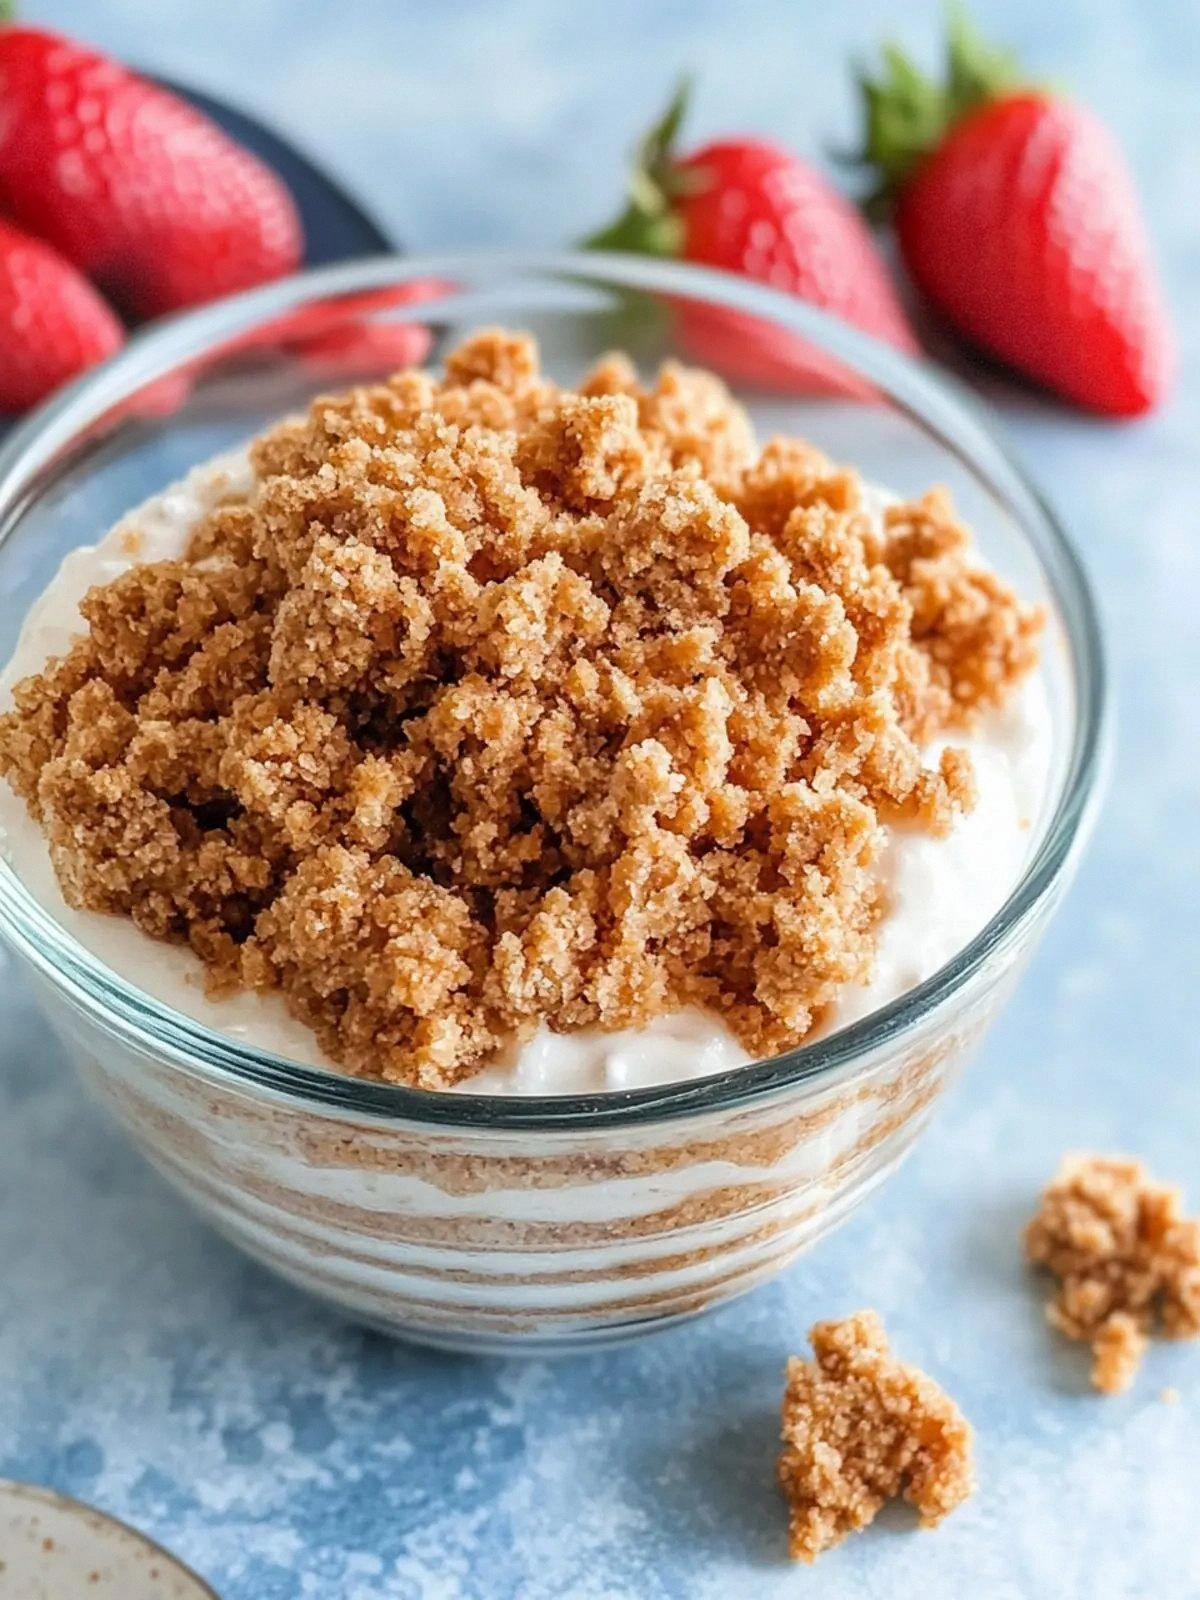
Picture this: a kitchen that smells like melted butter, toasted sugar, and the faintest whisper of cinnamon, and you’re standing in the middle of it with a bowl of crushed graham crackers that look like tiny golden crumbs. I was in a rush to finish a last‑minute dessert for a friend, and the only thing I had on hand was a pack of graham crackers and a block of butter. The result was a crumble that melted into a buttery, caramelized topping so simple, yet so irresistible, that I almost didn’t want to share it. I dare you to taste this and not go back for seconds. It’s the kind of thing that turns a plain pie into a showstopper with no extra effort.
When you first open the jar of graham crackers, you can almost hear the crisp snap of each piece as it breaks apart. The butter begins to sizzle, filling the air with a buttery aroma that feels like a warm hug. The sugar caramelizes into a golden glaze that coats the crumbs, and the cinnamon adds a subtle warmth that dances on your palate. The final touch is a pinch of salt that brings everything together, creating a flavor profile that is at once sweet, savory, and utterly comforting. If you’ve ever struggled with making a crumble that isn’t either too dry or too soggy, you’re not alone — and I’ve got the fix.
This version of the graham cracker crumble stands out because it uses a precise ratio of butter to sugar that creates a buttery crunch that holds its shape on top of any dessert. It’s a game‑changer for pies, cakes, and even fruit salads that need that extra crunch. The technique is simple, yet the result is a topping that’s hands down the best version you’ll ever make at home. I’ll be honest — I ate half the batch before anyone else got to try it, and it still had room for more. The secret? A little extra attention to the temperature of the butter and the timing of the baking.
Most recipes get this completely wrong, but here’s what actually works: use cold butter, break the crackers into fine crumbs, and bake until the edges turn a beautiful amber. Picture yourself pulling this out of the oven, the whole kitchen smelling incredible, and the crumble looking like a golden, crunchy blanket. The result is a topping that is crispy on the edges, tender in the middle, and full of flavor. And now the fun part: let me walk you through every single step — by the end, you’ll wonder how you ever made it any other way.
What Makes This Version Stand Out
- Flavor: The blend of butter, sugar, and cinnamon creates a depth that lingers on the tongue, far beyond the usual sweet crumble.
- Texture: The crumbly, buttery consistency provides a satisfying crunch that pairs perfectly with creamy or fruity desserts.
- Simplicity: Only six ingredients, all pantry staples, mean you can whip this up in minutes.
- Versatility: Works as a topping for pies, cakes, yogurt parfaits, or even a quick snack on toast.
- Make‑ahead: Prepare it a day ahead, refrigerate, and bake just before serving for maximum freshness.
- Crowd‑pleaser: The familiar taste of graham crackers with a buttery twist keeps guests coming back for more.
Alright, let's break down exactly what goes into this masterpiece...
Inside the Ingredient List
The Flavor Base
Butter is the heart of this crumble. Cold, unsalted butter melts slowly, allowing the sugar to caramelize without seizing. If you use salted butter, you’ll end up with a slightly off‑balance flavor that leans too salty. A good rule of thumb: use the exact amount of butter to keep the mixture from sliding off the pan. If you’re in a pinch and only have melted butter, you can still create a decent crumble, but the texture will be a bit softer.
The Texture Crew
Graham crackers are the star of the show, providing the crunch and the subtle sweetness that grounds the topping. They’re already sweetened, so the sugar added later only enhances the caramel flavor. The fine crumbs give the topping a light, airy feel, while the larger pieces add a satisfying bite. If you prefer a crunchier crumble, keep the crumbs a bit larger; for a smoother texture, pulse them more finely.
The Unexpected Star
Cinnamon is the unexpected star that elevates this crumble from ordinary to extraordinary. It adds warmth and depth, making the topping feel more complex and inviting. A half teaspoon is enough to taste, but if you’re a cinnamon lover, you can increase to a full teaspoon. This spice also pairs beautifully with apples, pears, and pumpkin desserts.
The Final Flourish
Salt is the final flourish that brings everything together. A quarter teaspoon of kosher or fine sea salt cuts the sweetness and balances the buttery richness. Skipping the salt will leave the crumble too sweet and flat. If you’re watching sodium, a pinch will still do the trick, but the flavor profile will be slightly muted.
Everything's prepped? Good. Let's get into the real action...
The Method — Step by Step
- Preheat the oven to 350°F (175°C). Let the oven settle for at least 10 minutes so the temperature is stable. The first thing you’ll notice is the gentle hum of the oven, a subtle reminder that the crumble is about to come alive. Don’t rush this step; a properly preheated oven is the foundation of a crisp topping.
- Break the crackers into crumbs. Place them in a zip‑lock bag and crush with a rolling pin, or pulse in a food processor for a finer texture. The goal is an even crumb size to ensure uniform browning. If the crumbs are too large, some will stay raw, ruining the crunch.
- Melt the butter. In a small saucepan over low heat, melt the butter until it’s just liquid and slightly golden. Do not let it brown; you want a buttery glaze, not a burnt flavor. The butter will coat the crumbs evenly, creating a cohesive crumb layer.
- Mix sugar and cinnamon. In a medium bowl, combine the sugar and cinnamon until the mixture is smooth. Stir in the melted butter until the crumbs are thoroughly coated. The sugar should be evenly distributed to prevent clumps; this step is crucial for a consistent crunch.
- Fold in the salt. Add the salt to the crumb mixture and toss until it’s fully incorporated. The salt will enhance the sweetness and bring depth to the crumble. A small pinch is enough; too much will overpower the delicate balance.
- Spread the crumble. Line a 9‑inch square baking pan with parchment paper and spoon the mixture into the pan. Use the back of a spoon or your hands to press it down evenly, creating a compact layer that won’t crumble apart during baking. The edges should be slightly raised for a beautiful golden rim.
- Bake until golden. Place the pan in the preheated oven and bake for 20–25 minutes, or until the edges turn a deep amber and the center is set. The smell of caramelized sugar will fill the kitchen, and you’ll know it’s done when the top is crisp but not burnt.
- Cool before using. Remove the crumble from the oven and let it cool for 10 minutes. This step is essential to lock in the crunch and prevent the topping from becoming sticky on your dessert. Once cooled, break it into smaller pieces if needed.
- Serve or store. Sprinkle the crumble over your favorite dessert, or store it in an airtight container at room temperature for up to a week. It’s perfect for topping pies, cheesecake, or even a simple bowl of yogurt. The crumble remains crisp when stored properly.
That's it — you did it. But hold on, I've got a few more tricks that'll take this to another level...
Insider Tricks for Flawless Results
The Temperature Rule Nobody Follows
Many bakers bake at 375°F, thinking it will speed up the process. The truth is, a lower temperature of 350°F allows the butter to melt slowly and the sugar to caramelize gently, resulting in a crisp, golden crumble. If you’re in a hurry, you can bump the temperature to 400°F, but keep a close eye on the edges to prevent burning.
Why Your Nose Knows Best
Before you even lift the crumb out of the oven, trust your nose. A warm, buttery aroma that hints at caramel is the perfect signal that the crumble is ready. If you can’t smell it, it’s probably not ready yet; if you smell something burnt, pull it out immediately.
The 5-Minute Rest That Changes Everything
Letting the crumble rest for 5 minutes after baking allows the crumbs to set, preventing them from sticking together when you break them. This small pause can make the difference between a soggy, clumpy topping and a light, airy crunch. If you’re in a rush, skip the rest, but you’ll likely notice a texture change.
Use Cold Butter for Best Texture
Cold butter yields a crumb that stays together until you press it. If you melt the butter too quickly, the crumbs will become greasy and lose their structure. For best results, chill the butter before melting it, and only melt it enough to coat the crumbs.
Storing for Freshness
Store the crumble in an airtight container at room temperature. If you’re making it ahead of time, keep it in a cool, dry place, and it will stay crisp for up to a week. Add a small piece of bread or a slice of apple to the container to absorb moisture and keep the crumbs from becoming soggy.
Creative Twists and Variations
This recipe is a playground. Here are some of my favorite ways to switch things up:
Chocolate Swirl
Stir in a tablespoon of unsweetened cocoa powder into the crumb mixture for a chocolatey twist that’s perfect over banana bread or brownies. The chocolate deepens the flavor profile and adds a subtle bitterness that balances the sweetness.
Nutty Crunch
Add a handful of chopped pecans or walnuts to the crumb mixture for a nutty crunch that pairs beautifully with apple pies or pumpkin desserts. The nuts add protein and a pleasant texture contrast.
Spiced Orange
Replace the cinnamon with a blend of orange zest and nutmeg for a citrusy, spiced crumble that elevates lemon bars or citrus tarts. The zest adds bright flavor without overwhelming the buttery base.
Maple Infusion
Swap half the butter for maple syrup to create a maple‑infused crumble that’s perfect over pancakes or French toast. The syrup adds a sweet, caramel-like depth that complements breakfast dishes.
Vegan Version
Use coconut oil instead of butter, and replace the sugar with a plant‑based sweetener like maple syrup or agave nectar. The result is a crumble that’s dairy‑free yet still buttery and crunchy.
Storing and Bringing It Back to Life
Fridge Storage
Store the crumble in an airtight container in the refrigerator for up to a week. The cold environment keeps the butter solid, preventing the crumbs from becoming greasy. When you’re ready to use it, let it sit at room temperature for a few minutes before sprinkling.
Freezer Friendly
For longer storage, freeze the crumble in a freezer‑safe bag. It will keep well for up to three months. Thaw at room temperature for 30 minutes before using, or warm it in a 350°F oven for 5 minutes to restore crispness.
Best Reheating Method
Reheat the crumble in a 350°F oven for 5–7 minutes, or until the edges are crisp again. Add a tiny splash of water before reheating to create steam; this will help the crumble regain its original crunch without drying out.