Picture this: I’m standing in a kitchen that smells like burnt toast and ambition, a single candle flickering over a pot of overcooked rice, and a friend daring me to turn the mess into something edible. I laughed, but the moment was real – the kitchen was a disaster zone, and the only thing left to salvage was a handful of dates, a bag of oats, and a jar of peanut butter. I grabbed my notebook, scribbled a quick list, and decided to make the ultimate energy ball. That night, the result was a chewy, nutty, sweet bite that felt like a hug in a tiny, portable form. If you’ve ever felt stuck with an ingredient you can’t use, or you’re searching for a snack that packs a punch of flavor and nutrition, you’re about to discover the version that will change how you think about homemade energy bites.
The first time I tasted these balls, the flavor exploded. The dates clung together like sticky caramel, the nuts added a satisfying crunch, and the cocoa powder gave a subtle chocolate depth that didn’t overpower. The texture was a dance between soft, almost melt‑in‑your-mouth, and a firm bite that didn’t feel gummy. I could almost hear the crunch in my ears, feel the slight resistance as I bit into it, and smell the faint nutty aroma that lingered on the tongue. The sound of the first bite was a satisfying crack, like a tiny celebration. That was the moment I knew I had stumbled upon something special.
Why does this recipe stand out from the endless list of energy ball variations on Pinterest and blogs? It’s because I’ve combined the most potent flavorings with a technique that locks in moisture without excess oil or sugar. I used dates for natural sweetness, a blend of nuts for texture, and a touch of cocoa that brings a velvety chocolate undertone. The method ensures the balls hold together perfectly, yet remain soft enough to dissolve in your mouth. The result is a snack that satisfies both the sweet tooth and the need for quick, clean energy. The best part? It’s so simple you can make it in under 30 minutes, even on a busy weekday.
I dare you to taste this and not go back for seconds. If you’re skeptical, I’ll be honest – I ate half the batch before anyone else even had a chance to try it. Most recipes get this completely wrong, focusing on too much dry flour or too little binding agent, which results in either dry, crumbly balls or sticky, greasy messes. Here’s what actually works: a precise balance of sweet, nutty, and chocolatey flavors, a binding agent that keeps everything together without overpowering the taste, and a gentle mixing technique that preserves the natural texture of the nuts. Picture yourself pulling this out of the fridge, the whole kitchen smelling incredible, and feeling proud of a snack that’s as delicious as it is nutritious. Stay with me here – this is worth it.
Let me walk you through every single step – by the end, you’ll wonder how you ever made it any other way. The method is straightforward, the ingredients are pantry staples, and the outcome is a snack that can be enjoyed anytime, anywhere. Whether you’re a busy professional, a student, or a parent on the go, these energy balls will keep you energized and satisfied. Let’s dive in and create a snack that’s not just good, but unforgettable.
What Makes This Version Stand Out
- Flavor Fusion: The blend of dates, nuts, and cocoa creates a layered taste profile that’s sweet, nutty, and slightly chocolatey, giving each bite a complex yet harmonious flavor.
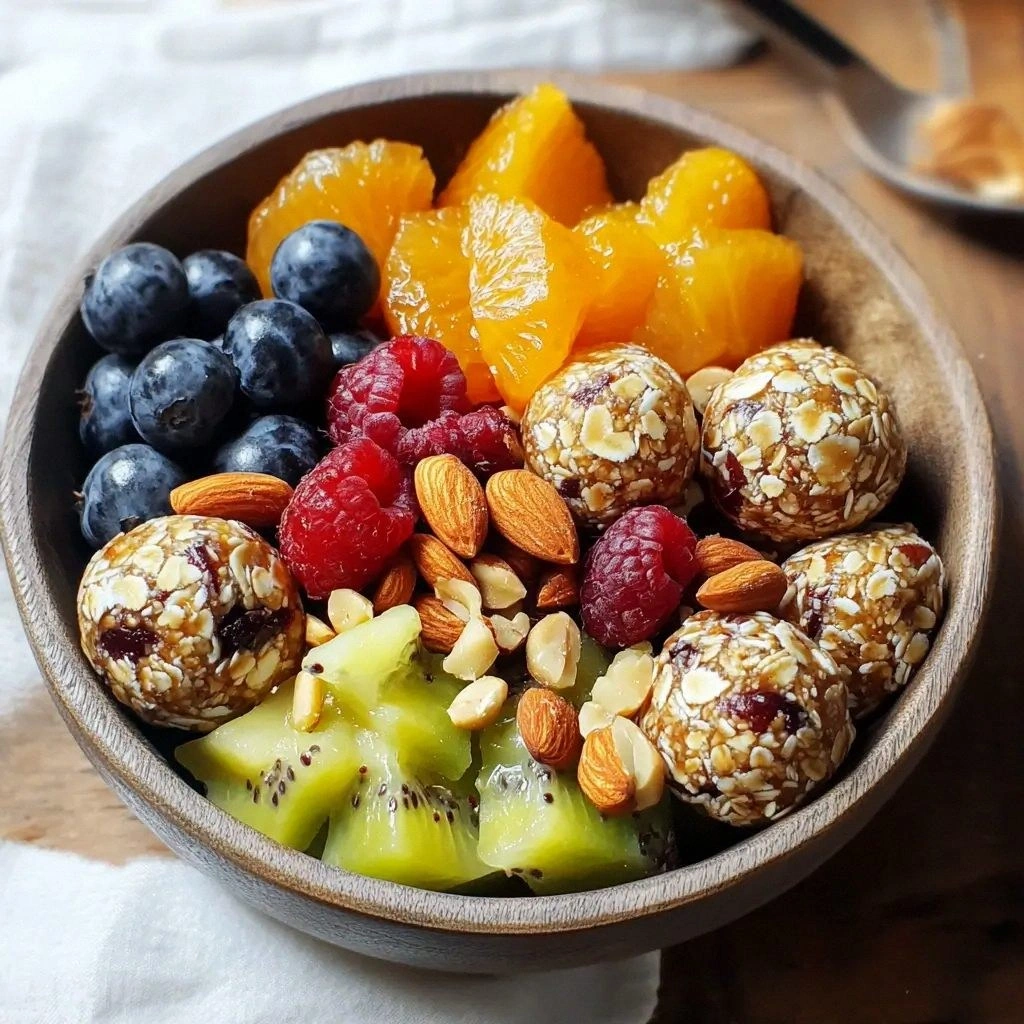
- Texture Balance: The mix of rolled oats and shredded coconut provides a chewy base, while the nuts add crunch, resulting in a satisfying mouthfeel that isn’t too dense.
- Natural Sweetener: Using dates eliminates refined sugar, keeping the energy boost clean and steady while maintaining a rich, caramel-like sweetness.
- Quick & Easy: The entire process takes less than 30 minutes, making it perfect for a busy schedule without sacrificing quality.
- Versatile Base: The recipe’s foundation can be easily tweaked – swap in your favorite nuts, add dried fruit, or adjust the sweetener to suit dietary preferences.
- Make‑Ahead Friendly: Once formed, the balls keep well in the fridge or freezer, allowing you to prep for the week in advance.
- Low Carb & High Protein: With a good balance of protein from nuts and seeds, these balls provide sustained energy without a carb crash.
- Kid‑Approved: The natural sweetness and fun texture make it a hit with children and adults alike, turning snack time into a celebration.
Alright, let's break down exactly what goes into this masterpiece…
Inside the Ingredient List
The Flavor Base
At the heart of these energy balls are the dates and cocoa powder. Dates provide a deep, caramel-like sweetness that naturally binds the mixture together. They also bring a subtle molasses undertone that pairs beautifully with the chocolatey hint from the cocoa. If you’re looking for a slightly less sweet version, swap half the dates for dried apricots or raisins; they’ll add a tart contrast while keeping the binding property.
The Texture Crew
Rolled oats and shredded coconut form the chewy foundation. Oats absorb moisture and give the balls a soft, bread-like bite, while coconut adds a light, airy texture and a tropical aroma. The nuts—almonds, walnuts, and cashews—contribute crunch and a buttery richness. Chia seeds are a bonus; they swell in the mixture, adding a gelatinous feel that keeps the balls from falling apart. If you’re gluten‑free or prefer a different grain, try quinoa flakes or puffed rice as a substitute for oats.
The Unexpected Star
Dark chocolate chips may seem like a typical addition, but they serve a dual purpose: they bring a burst of chocolate flavor and a slight bitterness that balances the sweetness. The dried cranberries add a pop of tartness and a chewy texture that contrasts with the rest. If you’re allergic to dairy or want a vegan version, choose dairy‑free chocolate chips. For a heat kick, sprinkle a pinch of cayenne pepper into the mix—trust me, the subtle heat will make you crave another bite.
The Final Flourish
Vanilla extract and a splash of almond butter tie everything together. Vanilla elevates the nutty undertones, while almond butter adds a creamy, rich mouthfeel and extra protein. A pinch of sea salt enhances all the flavors, cutting through the sweetness and highlighting the chocolate. If you prefer a sweeter, more caramelized taste, replace the almond butter with a tablespoon of honey or maple syrup. For a nut allergy, substitute with sunflower seed butter.
Everything's prepped? Good. Let's get into the real action…
The Method — Step by Step
- Begin by placing the dates in a bowl and covering them with warm water. Let them soak for 10 minutes; this softens the dates and makes them easier to blend. After soaking, drain and pulse the dates in a food processor until they form a smooth paste. This paste will act as the natural glue for the rest of the ingredients.
- Add the rolled oats, shredded coconut, and chia seeds to the processor. Pulse a few times until the mixture is uniformly combined but still slightly chunky. The oats and coconut provide structure, while the chia seeds add a subtle gel that keeps everything together.
- Sift the cocoa powder into the mixture. The cocoa should be evenly distributed to avoid clumpy pockets of chocolate. If you prefer a stronger chocolate flavor, you can double the amount.
- Break the nuts into smaller pieces using a rolling pin or your hands. Place them in a separate bowl and lightly toast them in a dry skillet over medium heat for 3–4 minutes, stirring constantly. Toasting enhances their flavor and reduces moisture content, preventing the balls from becoming soggy.
- Add the toasted nuts, dried cranberries, almond butter, vanilla extract, and sea salt to the processor. Pulse until the mixture is cohesive but still retains some texture. If the mixture feels too dry, add a tablespoon of water or almond milk to bring it together.
- Transfer the mixture to a large bowl and use a wooden spoon to stir it thoroughly. Check the texture: it should be sticky enough to hold shape but not wet enough to be messy. If it’s too sticky, add a little more oats; if too dry, add a splash of liquid.
- Using a tablespoon or a small cookie scoop, portion the mixture into bite‑sized balls. Roll each ball between your palms until it’s smooth and round. This step is the moment of truth—each ball should be firm enough to hold its shape yet soft enough to melt in your mouth.
- Place the finished balls on a parchment‑lined tray. Refrigerate for at least 30 minutes to allow them to set. The cold temperature helps the fats in the nuts solidify, giving the balls a firm bite that won’t fall apart during transport.
- Once set, transfer the balls to an airtight container. Store them in the refrigerator for up to a week or freeze for longer storage. When you’re ready to enjoy, let them sit at room temperature for a few minutes to soften slightly before biting into them.
That's it — you did it. But hold on, I've got a few more tricks that'll take this to another level…
Insider Tricks for Flawless Results
The Temperature Rule Nobody Follows
Many people mix energy balls at room temperature, which can lead to a sticky mess. I always chill the mixture before forming the balls; the coldness tightens the fats and gives the balls a firmer bite. If you’re in a hurry, you can also chill the final product in the freezer for 10 minutes. This trick ensures each bite is consistent and doesn’t fall apart in your bag.
Why Your Nose Knows Best
When the mixture starts to smell slightly nutty and sweet, that’s the sweet spot. Don’t rush the mixing phase; let the aroma develop fully. A well‑smelled batch means the nuts have released their oils and the dates have fully blended, guaranteeing a cohesive texture.
The 5‑Minute Rest That Changes Everything
After forming the balls, let them rest on the tray for 5 minutes before refrigerating. This short rest allows the outer layer to set, creating a slight crust that keeps the interior moist. It also gives you a chance to smooth out any unevenness in the surface.
Use a Food Processor for Even Distribution
Even a short pulse of the processor after adding the almond butter and vanilla ensures the fats are fully incorporated. This step prevents pockets of dry or greasy spots that can ruin the texture.
Keep the Mix Lightly Toasted
Toasting the nuts just enough to bring out their flavor, but not so long that they burn, is essential. Burnt nuts can impart a bitter taste that overpowers the sweet base. A quick 3‑minute toast is sufficient.
Pack Them in Airtight Containers
Air can dry out the balls, causing them to become brittle. Store them in a resealable bag or a small container with a tight seal. If you notice any moisture build‑up, add a silica gel packet or a small piece of dry rice to absorb excess humidity.
Creative Twists and Variations
This recipe is a playground. Here are some of my favorite ways to switch things up:
Spicy Chocolate Explosion
Swap the dark chocolate chips for cacao nibs and add a pinch of cayenne pepper. The heat will cut through the sweetness, giving you a spicy kick that’s perfect for late‑night cravings.
Minty Freshness
Incorporate a teaspoon of peppermint extract and replace the dried cranberries with chopped dried cherries. The mint will give a refreshing aftertaste that pairs nicely with the chocolate.
Almond‑Coconut Crunch
Use only almonds and shredded coconut, and add a tablespoon of toasted coconut flakes for extra crunch. This version is lighter and has a pronounced coconut flavor that feels tropical.
Berry Burst
Replace the dried cranberries with dried blueberries or raspberries and add a tablespoon of dried mango for a sweet‑tart combination. The berries bring bright color and a juicy burst of flavor.
Nut-Free Energy Balls
Omit all nuts and substitute with sunflower seed butter and pumpkin seeds. The texture remains chewy, and the pumpkin seeds add a subtle earthy note that’s surprisingly satisfying.
Chocolate‑Glazed Surprise
After forming the balls, roll them in melted dark chocolate and let the coating set. This adds a glossy finish and a richer chocolate taste that feels indulgent.
Storing and Bringing It Back to Life
Fridge Storage
Place the balls in an airtight container and store them in the refrigerator for up to 7 days. The cool environment keeps the fats solid, ensuring the balls maintain their shape and texture.
Freezer Friendly
For longer storage, place the balls on a parchment‑lined tray, freeze until solid, then transfer them to a freezer bag. They will stay fresh for up to 3 months. When you’re ready to eat, let them thaw at room temperature for 15 minutes.
Best Reheating Method
To revive the texture, place the balls in a microwave-safe dish and heat on low for 10–15 seconds. Add a tiny splash of water before reheating; this steams the balls back to a moist, chewy state without drying them out.