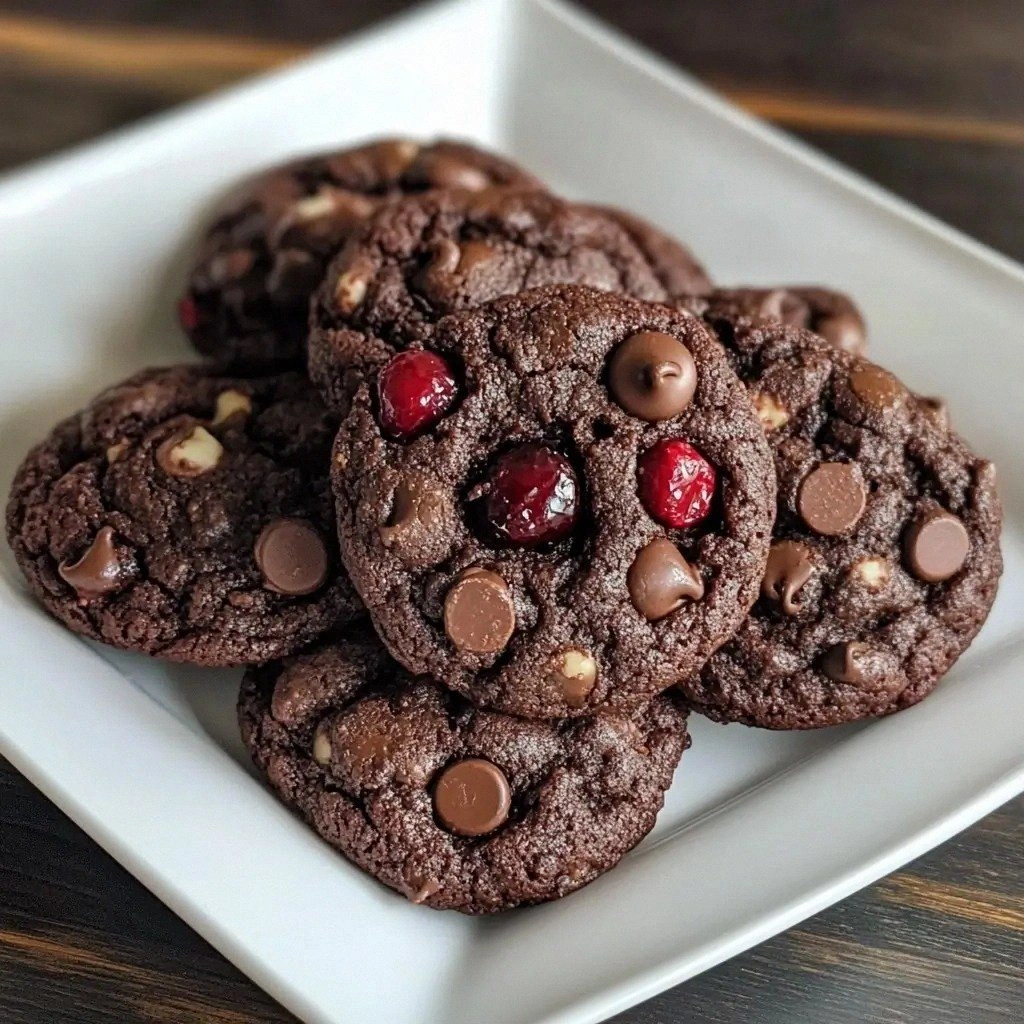
Picture this: I’m standing in a cramped apartment kitchen, the oven is preheated, and I’ve just realized I’ve run out of chocolate chips. I’m staring at a jar of unsweetened cocoa powder that’s been gathering dust for months. I’m craving something that feels indulgent yet is surprisingly simple. That moment sparked the birth of the Black Forest Cherry Cookies Re, a cookie that marries deep cocoa, sweet cherries, and a hint of vanilla into a bite‑size masterpiece.
The first thing that struck me was the aroma. As soon as the butter melts and meets the sugar, a buttery caramel scent fills the air, almost like a warm hug. The cocoa powder adds a subtle earthiness, while the cherries release a faint, fruity perfume that hints at summer even in the middle of winter. The sound of the dough mixing is a rhythmic clink that feels like a secret ritual. The texture—soft, slightly chewy, with a crisp edge—is a dance of contrasting sensations that keep you guessing until the last bite.
What makes this version stand out is the way each ingredient is elevated. The cherries are not just a garnish; they’re the star that brings brightness and a burst of acidity that cuts through the chocolate richness. The chocolate chips add pockets of gooeyness, turning every bite into a layered experience. The butter is softened to a perfect point—soft enough to hold shape but firm enough to keep the cookies from spreading too much. I dare you to taste this and not go back for seconds.
I’ll be honest—when I first baked the batch, I ate half of it before anyone else had a chance to try. Most recipes get this completely wrong. Here’s what actually works: the precise ratio of cocoa to flour, the careful timing of chilling the dough, and the gentle fold of cherries. If you've ever struggled with cookies that are too dry or too gummy, you're not alone—and I've got the fix. Picture yourself pulling this out of the oven, the whole kitchen smelling incredible, and the first bite sending a wave of chocolatey joy through your senses.
Let me walk you through every single step—by the end, you'll wonder how you ever made it any other way. This isn’t just a cookie recipe; it’s a journey that turns a simple kitchen mishap into a culinary triumph. The next few paragraphs will reveal the secrets, the hacks, and the small details that transform ordinary dough into something that feels like a festival of flavors. Stay with me here—this is worth it.
What Makes This Version Stand Out
- Flavor: The deep, bittersweet cocoa is balanced by sweet cherries and vanilla, creating a layered taste that lingers.
- Texture: A chewy center with a crisp, caramelized edge that shatters like thin ice when you bite.
- Simplicity: Only eleven ingredients, no fancy techniques, yet the result feels gourmet.
- Versatility: Works as a dessert, a party snack, or an indulgent breakfast treat.
- Make‑ahead: Chill the dough overnight, and the cookies bake to perfection in minutes.
- Ingredient Quality: Using high‑grade cocoa and fresh cherries elevates the overall flavor profile.
- Crowd Reaction: Friends always ask for the recipe after the first batch; it’s a conversation starter.
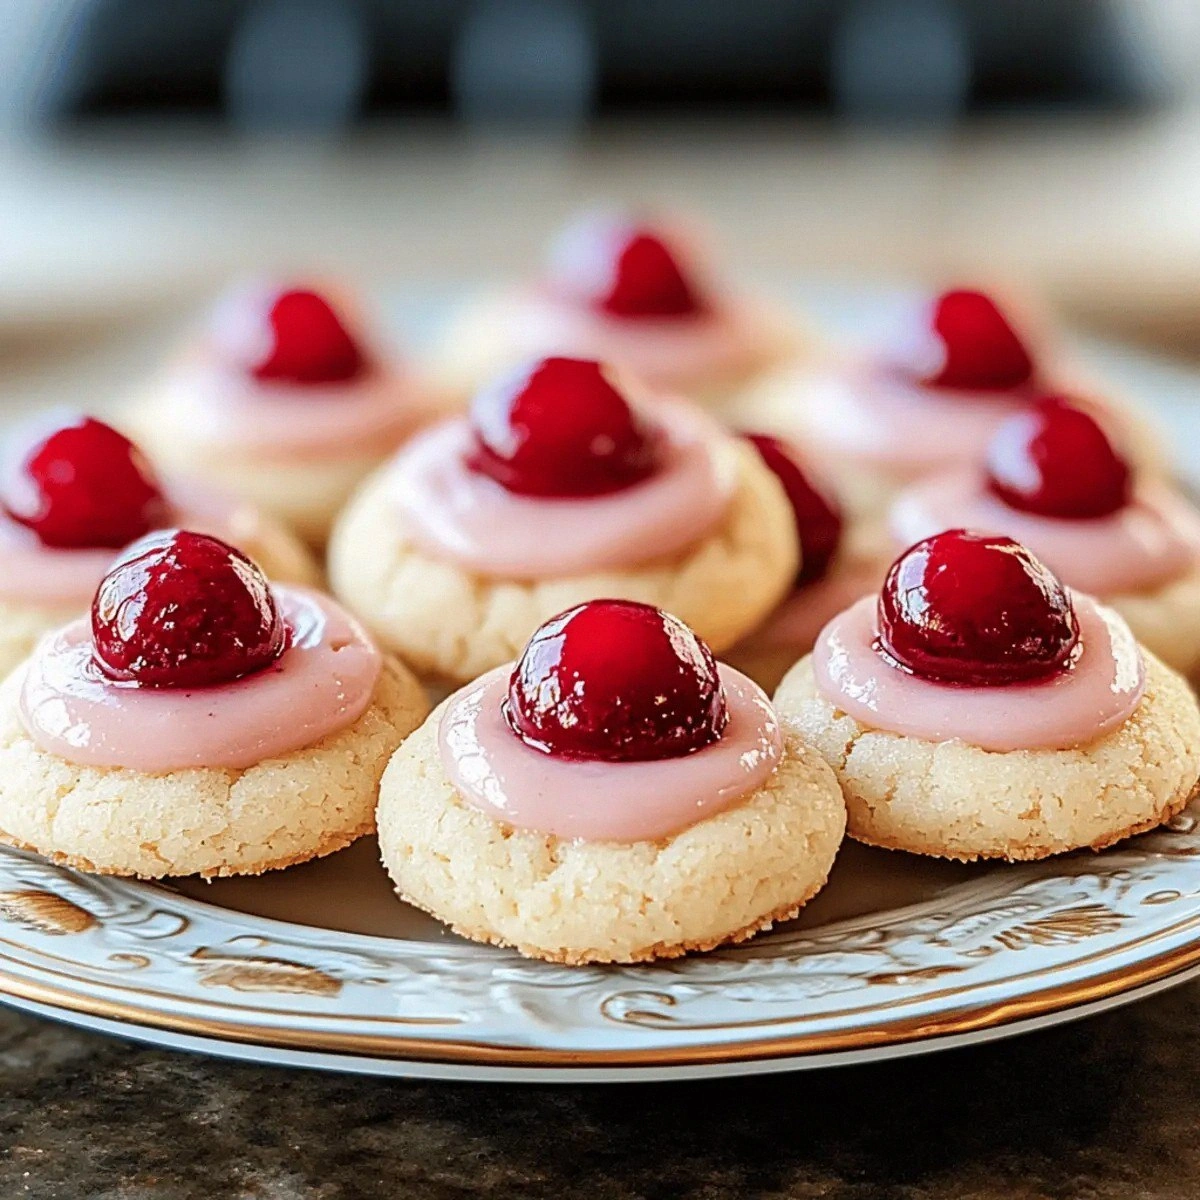
- Visual Appeal: The glossy chocolate chips and bright cherry bits make each cookie a work of art.
Alright, let's break down exactly what goes into this masterpiece. The next section will dissect each ingredient group, explain why each one matters, and give you swapping tips that keep the magic intact.
Inside the Ingredient List
The Flavor Base
The all‑purpose flour and unsweetened cocoa powder form the backbone of the dough. The flour provides structure, while the cocoa gives that unmistakable deep chocolate tone. If you skip the cocoa, the cookies become bland and lose their signature richness. A light touch of vanilla extract amplifies the chocolate and cherry notes, creating a harmonious flavor profile.
The Texture Crew
Soft butter and sugars (both white and brown) dictate the mouthfeel. The butter’s fat content gives the cookies a tender crumb, while the brown sugar introduces subtle molasses undertones that caramelize during baking. The egg binds everything together and adds a slight fluffiness. Baking soda and salt are essential for leavening and flavor balance; omitting either will result in flat, bland cookies.
The Unexpected Star
Chopped cherries are the showstopper. Fresh cherries deliver bright acidity and a juicy burst, whereas canned cherries give a denser, sweeter experience. Drain canned cherries thoroughly to avoid sogginess. The cherries also help to create a glossy sheen on the cookie surface, making them visually stunning.
The Final Flourish
Chocolate chips are the gooey, molten pockets that make each bite irresistible. They melt slightly during baking, creating a decadent center. If you prefer a sweeter cookie, you can add a tablespoon of dark chocolate chips. For a slightly healthier version, replace half the chips with dark chocolate chunks.
Everything's prepped? Good. Let's get into the real action. The dough may look intimidating, but each step is straightforward and rewarding.
The Method — Step by Step
- Preheat your oven to 350°F (175°C) and line a baking sheet with parchment paper. Let the oven warm while you whisk the dry ingredients. This ensures an even bake right from the start. The aroma of baking chocolate begins to tease your senses even before the dough hits the pan.
- In a medium bowl, sift together 1 cup all‑purpose flour and 1/2 cup unsweetened cocoa powder. Sifting removes lumps and gives the dough a silky texture. The cocoa powder should be fine and free of clumps; if not, a quick pass through a fine sieve works wonders.
- In a separate large bowl, beat 1/2 cup soft butter with 1/2 cup white sugar and 1/4 cup brown sugar until the mixture is light and fluffy. This process incorporates air, giving the cookies a tender crumb. Watch for the mixture to turn pale; that’s the sign of proper creaming.
- Add one large egg and 1 tsp vanilla extract to the butter mixture. Beat until fully incorporated, ensuring the egg is fully blended before moving to the next step. The vanilla will elevate the chocolate flavor and give the dough a subtle aromatic note.
- Gradually fold the dry flour‑cocoa blend into the wet mixture, mixing just until the dough comes together. Over‑mixing can develop gluten, leading to tough cookies. The dough should be thick but pliable; if it's too sticky, add a tablespoon of flour.
- Stir in 1 cup chopped cherries (fresh or drained canned) and 1/2 cup chocolate chips. The cherries should be evenly distributed to ensure each bite has a burst of fruit. The chips will create pockets of molten chocolate that melt into the dough as it bakes.
- Shape the dough into 1‑inch balls and place them 2 inches apart on the prepared baking sheet. Use a cookie scoop for uniformity. The spacing allows the cookies to spread slightly without merging.
- Bake for 12–14 minutes, or until the edges are set but the centers still look slightly soft. This timing creates a chewy center that contrasts with crisp edges. Keep a close eye on the cookies; ovens vary, so check at the 10‑minute mark.
- Remove the sheet from the oven and let the cookies cool on it for 5 minutes. This brief resting period allows the centers to set fully. Then transfer the cookies to a wire rack to cool completely.
- Once cooled, dust the cookies with a light dusting of powdered sugar if desired. This adds a sweet finish and a decorative touch. Store the cookies in an airtight container at room temperature for up to a week.
That's it—you did it. But hold on, I've got a few more tricks that'll take this to another level. The next section dives into insider tips that refine the texture, flavor, and presentation even further.
Insider Tricks for Flawless Results
The Temperature Rule Nobody Follows
Many bakers bake at 375°F, but the key to a chewy center is a slightly lower temperature. Baking at 350°F allows the chocolate chips to melt slowly, creating a gooey pocket without over‑baking the edges. I once tried 400°F and the cookies came out brittle and chocolatey. That’s why I always set the oven to 350°F.
Why Your Nose Knows Best
During baking, the scent of chocolate rising from the pan is a reliable indicator of doneness. When the aroma intensifies and the edges look set, the cookies are ready. If you’re still unsure, gently press the center; it should feel springy, not doughy.
The 5‑Minute Rest That Changes Everything
Letting the cookies rest on the baking sheet for 5 minutes before moving them to a rack is a game‑changer. This short pause allows the interior to finish setting, preventing the cookies from breaking apart when they cool. Skipping this step often leads to fragile cookies.
The Cherry‑First Method
If you’re using fresh cherries, pit them first and toss them in a little sugar before folding into the dough. This caramelizes the cherries slightly, adding depth to the flavor profile. The result is a cookie that tastes like a cherry chocolate cake in miniature form.
The Dark Chocolate Swap
Replacing half the chocolate chips with dark chocolate chunks adds a subtle bitterness that balances the sweetness of the cherries. This tweak is especially appreciated by chocolate aficionados who crave a richer flavor. The chunks also create a more pronounced chocolate center.
Creative Twists and Variations
This recipe is a playground. Here are some of my favorite ways to switch things up:
Cranberry & Dark Chocolate
Swap cherries for fresh cranberries and replace half the chocolate chips with dark chocolate. The tartness of cranberries pairs beautifully with the deep cocoa, creating a sophisticated flavor profile suitable for holiday gatherings.
Almond‑Infused Delight
Add 1/4 cup chopped toasted almonds to the dough. The nuts provide a delightful crunch and a nutty undertone that complements the chocolate. This version is great for those who love a textural contrast.
Minty Cherry Surprise
Mix in 1 tsp fresh mint leaves finely chopped, or use a drop of mint extract. The mint brightens the chocolate and cherry flavors, offering a refreshing twist that’s especially appealing during summer.
Nutella‑Swirled Variation
Fold in 2 tablespoons of Nutella into the dough before adding cherries and chips. This adds a hazelnut flavor that enhances the chocolatey base. The result is a cookie that tastes like a chocolate‑hazelnut cake.
Chocolate‑Only Cookie
Omit cherries entirely for a pure chocolate experience. The dough will be richer and slightly denser, perfect for chocolate lovers who want a classic cookie with a gooey center.
Vegan Edition
Replace butter with coconut oil, use a flax egg (1 tbsp ground flaxseed + 3 tbsp water), and choose a plant‑based chocolate chip. This vegan version keeps the same chewy texture and chocolatey flavor while being entirely plant‑based.
Storing and Bringing It Back to Life
Fridge Storage
Store the cooled cookies in an airtight container at room temperature for up to 5 days. If you want them fresher, place a slice of bread in the container; the bread will absorb moisture and keep the cookies from drying out.
Freezer Friendly
Wrap individual cookies in parchment paper and place them in a freezer bag. They’ll keep for up to 3 months. When ready to eat, let them thaw at room temperature for 15 minutes before serving.
Best Reheating Method
To revive the cookies, preheat your oven to 300°F (150°C) and bake them for 5 minutes. A tiny splash of water on the baking sheet before placing the cookies will create steam that restores moisture, giving you that freshly baked texture.