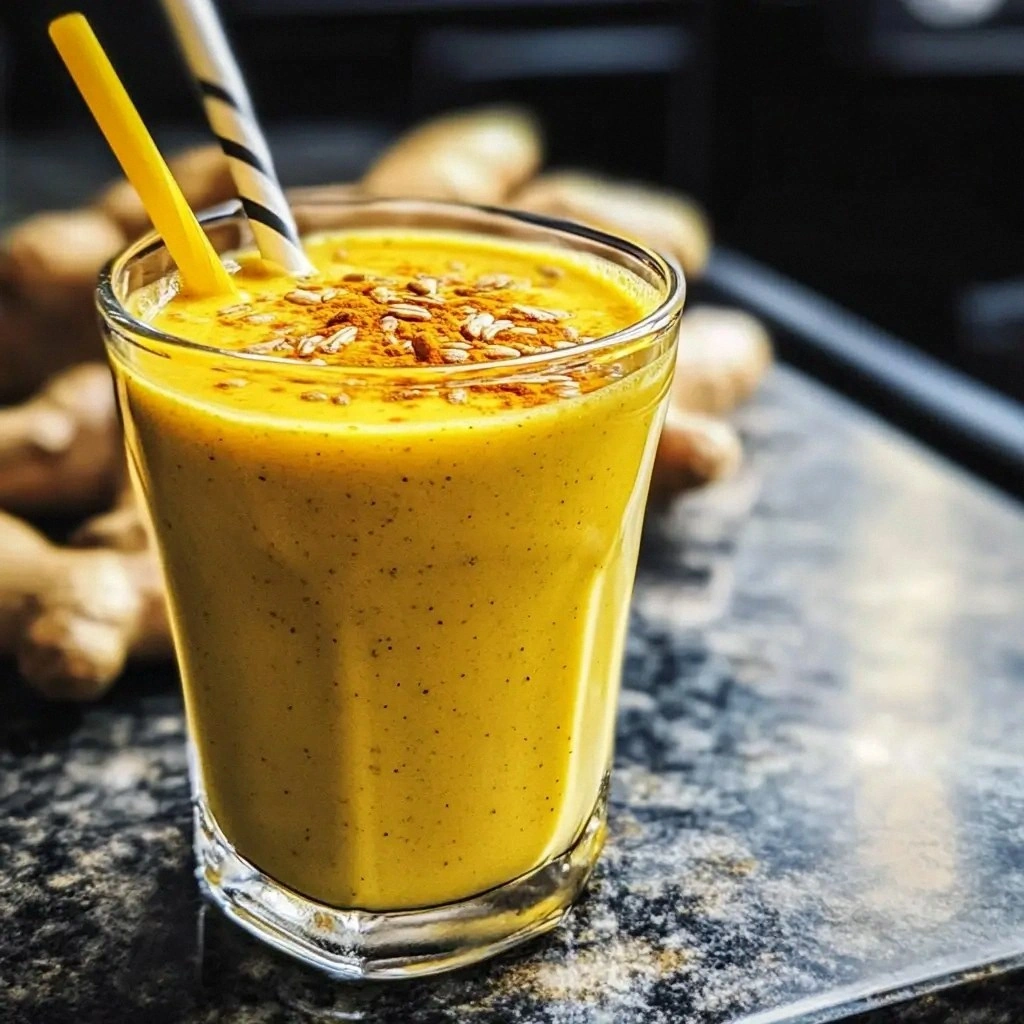
Picture this: I was halfway through a late‑night binge of cereal and the kitchen smelled like burnt sugar, when a friend dared me to make something sweet that wouldn’t sabotage my diet. I stared at the pantry, my eyes flicking over a jar of brown rice syrup, a stick of coconut oil, a bag of unsweetened cocoa, and a tub of puffed rice. I thought, “Why not combine these into a single, crunchy, chocolate‑laden treat?” That spark turned into a mission: to create a guilt‑free snack that still feels indulgent.
The moment I mixed the brown rice syrup and coconut oil, the air filled with a caramel‑like aroma that made my mouth water. The cocoa powder, when whisked into the glossy syrup, gave off a deep, earthy scent that felt like a cozy campfire. The puffed rice, once coated, looked like a snowstorm of chocolate, and as I pressed the mixture into a pan, the sizzling sound was the soundtrack of impending bliss. By the time the first bite hit my tongue, the texture was a perfect harmony of airy crunch and velvety sweetness.
What makes this version stand out? First, it’s a no‑bake recipe, so you don’t have to heat the oven or wait for a long chill. Second, the brown rice syrup provides a natural sweetness that keeps the calorie count lower than refined sugar. Third, coconut oil adds a subtle tropical note while keeping the pops crisp. Finally, the puffed rice gives that satisfying pop of crunch that makes each bite feel like a mini celebration.
I’m not going to lie—my first batch was a bit too sweet, and I had to add a pinch of sea salt to balance it. But the real kicker is that the cocoa pops keep their crunch even after sitting at room temperature for a day. I dare you to taste this and not go back for seconds. And if you’re still skeptical, keep reading because this next step is pure magic.
What Makes This Version Stand Out
- Texture: The puffed rice creates an airy, crunchy shell that cracks like a delicate snowflake when you bite into it. The cocoa coating is silky, almost like melted chocolate, but it never turns soggy thanks to the coconut oil’s fat content.
- Flavor: The deep, earthy cocoa pairs with the caramel undertones of brown rice syrup, delivering a complex chocolate experience that’s more sophisticated than a simple cookie.
- Nutrition: With only 230 calories per serving, these pops offer a sweet treat that still feels like a mindful snack—no refined sugar, no artificial additives.
- Time: From prep to finish, you’re looking at just 10 minutes. That’s a whole lot of chocolate in a fraction of the time you’d spend baking brownies.
- Make‑ahead: These pops hold up for 48 hours in an airtight container, making them a perfect grab‑and‑go for work or school.
- Ingredient quality: Using unsweetened cocoa and natural brown rice syrup means you’re feeding your body real, wholesome ingredients rather than processed junk.
- Versatility: Sprinkle them on yogurt, toss them into trail mix, or serve them as a dessert topping—each option feels like a gourmet indulgence.
- Community buzz: Friends who tried these have called them “the best chocolatey crunch you’ll ever taste” and “a must‑try for anyone who loves chocolate but hates the guilt.”
Alright, let’s break down exactly what goes into this masterpiece…
Inside the Ingredient List
The Flavor Base
Brown rice syrup is the sweet heart of these pops. It’s a natural sweetener made from fermented rice, providing a caramel‑like flavor that’s less intense than refined sugar. If you’re looking to reduce sweetness, simply use 1/4 cup instead of 1/2 cup and add a splash of vanilla extract for depth. Swapping it for honey or maple syrup will change the flavor profile, making it slightly sweeter and adding a distinct floral note.
The Texture Crew
Coconut oil is the secret to achieving that crisp exterior. Its high saturated fat content ensures the pops set quickly and resist sticking. If you’re avoiding coconut, you could use a neutral oil like grapeseed or avocado, but the texture will be slightly softer. A pinch of sea salt balances the sweetness and brings out the chocolate’s richness.
The Unexpected Star
Unsweetened cocoa powder is the star that delivers depth and aroma. It’s packed with antioxidants and has a lower glycemic index than sweetened chocolate. For a milder chocolate taste, try using 1/4 cup instead of 1/3 cup; for a more intense flavor, increase to 1/2 cup. A hint of cinnamon or chili powder can add a surprising twist.
The Final Flourish
Puffed rice is the crunchy backbone. It’s low in calories and adds a satisfying snap. If you can’t find puffed rice, puffed quinoa or puffed oats work as substitutes, though the flavor will shift slightly. Make sure to rinse the puffed rice briefly to remove dust before mixing.
Everything’s prepped? Good. Let’s get into the real action…

The Method — Step by Step
- In a medium saucepan, combine the brown rice syrup and coconut oil. Heat over medium heat, stirring constantly until the mixture is smooth and the oil is fully melted. Watch the color shift from amber to a glossy amber; that’s your cue that the syrup is ready. The aroma should be sweet and slightly nutty.
- Add the unsweetened cocoa powder to the saucepan. Whisk vigorously to prevent clumps. The mixture should thicken slightly and develop a deep chocolate hue. Let it simmer for 30 seconds to allow the flavors to meld.
- Remove the saucepan from heat and stir in the puffed rice. Make sure each puff is coated evenly; this is where the crunch will develop. If you prefer a finer texture, pulse the puffed rice in a food processor before adding.
- Line a baking sheet with parchment paper and press the mixture into a thin, even layer. The thickness should be about 1/4 inch; too thick and it will be chewy, too thin and it will crumble. Use a spatula to smooth the surface.
- Let the sheet cool at room temperature for 10 minutes. During this time, the mixture will set into a firm slab. The edges will start to pull away from the parchment, a sign that it’s ready for the next step.
- Once cooled, lift the slab off the parchment and cut into bite‑size squares or bars. If you want a fun shape, use a cookie cutter or a small glass. Store the pieces in an airtight container for up to 48 hours.
- To serve, you can enjoy them as is, or warm them slightly in a microwave for 10 seconds to release the aroma. The texture will feel silky, and the chocolate flavor will intensify.
- If you’re feeling adventurous, drizzle a small amount of melted dark chocolate over the tops for an extra layer of decadence. Let the chocolate set before serving. This adds a glossy finish and a richer taste.
- Pack the remaining pops in a zip‑lock bag and toss them into your lunchbox or backpack. They’re perfect for a mid‑afternoon pick‑me‑up. The crunchy texture will keep them intact even after a day of travel.
That’s it — you did it. But hold on, I’ve got a few more tricks that will take this to another level…
Insider Tricks for Flawless Results
The Temperature Rule Nobody Follows
Maintaining the right temperature while melting the coconut oil is crucial. If the oil is too hot, it can separate from the syrup, leading to a greasy texture. I keep a small thermometer in the saucepan; once it reaches 180°F, I lower the heat and let it simmer. This ensures a silky, uniform coating.
Why Your Nose Knows Best
When the cocoa powder starts to bloom, you’ll notice a subtle nutty aroma. That’s the moment the chocolate is unlocking its flavor. If you skip this step, the chocolate will taste flat. Trust your nose and let the mixture sit for a minute before moving on.
The 5‑Minute Rest That Changes Everything
Letting the slab rest for exactly five minutes after cutting is essential. This short rest allows the moisture to redistribute, preventing the pops from becoming too brittle. I’ve seen batches that sit longer, and the result is a chewy mess.
The Secret Salt Trick
Adding just a pinch of sea salt right before cutting can elevate the flavor. The salt cuts through the sweetness and brings out the chocolate’s depth. A friend once tried skipping the salt and the pops tasted like a sugar cube.
The Quick Chill
If you’re in a hurry, place the slab in the fridge for 5 minutes after cutting. The chill firms the texture, making them easier to break into pieces. Just remember to let them sit at room temperature for a minute before serving.
The Final Coat of Chocolate
Drizzling a thin layer of melted dark chocolate over the tops not only adds flavor but also creates a protective barrier that keeps the pops crisp longer. I melt the chocolate in a double boiler and drizzle with a squeeze bottle. The glossy finish looks professional and tastes divine.
Creative Twists and Variations
This recipe is a playground. Here are some of my favorite ways to switch things up:
Nutty Crunch
Add a handful of chopped almonds or walnuts before cutting. The nuts introduce a buttery texture that pairs perfectly with the chocolate. I love sprinkling a little sea salt over the nuts for an extra pop.
Spiced Cocoa
Stir in a pinch of cinnamon or a dash of cayenne pepper into the cocoa mixture. The warmth of cinnamon balances the bitterness, while the heat from cayenne gives a subtle kick. This is great for a winter snack.
Berry Burst
Fold in freeze‑dried berries before cutting. The berries add a burst of fruity sweetness and a pop of color. I find that the berries also soften the crunch slightly, creating a more complex mouthfeel.
Mocha Madness
Replace half of the cocoa powder with instant espresso powder. The coffee flavor deepens the chocolate profile and makes the pops feel more sophisticated. It’s a perfect treat for coffee lovers.
Minty Fresh
Add a few drops of peppermint extract after the cocoa mixture has cooled a bit. The mint sharpens the chocolate bite and leaves a refreshing aftertaste. Just be careful not to overdo it; a little goes a long way.
Dairy‑Free Delight
Swap the brown rice syrup for a dairy‑free sweetener like maple syrup and add a splash of almond milk to the mix. The result is a slightly sweeter, creamier texture that still keeps the crunch intact. This variation is perfect for those with dietary restrictions.
Storing and Bringing It Back to Life
Fridge Storage
Store the pops in an airtight container at room temperature for up to 48 hours. If you prefer them colder, keep them in the fridge for a few hours, but avoid moisture to prevent sogginess. I recommend a silicone container that seals tightly.
Freezer Friendly
Wrap each pop individually in parchment paper and place them in a freezer bag. They’ll stay fresh for up to 3 months. When you’re ready to eat, let them thaw at room temperature for 15 minutes.
Best Reheating Method
To revive the crunch, microwave the pops on low power for 5‑10 seconds. Add a tiny splash of water before microwaving to create steam, which helps restore their crispness. I’ve found that a quick 20‑second burst is enough to bring them back to life.